If your earrings keep disappearing into drawers or getting separated from their pairs, you’re not alone.
A good holder can keep studs, hoops, and dangling earrings easy to see without taking over your vanity.
You don’t need an expensive organizer either; with a few simple materials, you can make one that fits your space and collection.
In this article, I’ll show you how to make an earring holder and share practical ideas you can use for inspiration.
DIY Earring Holder Ideas
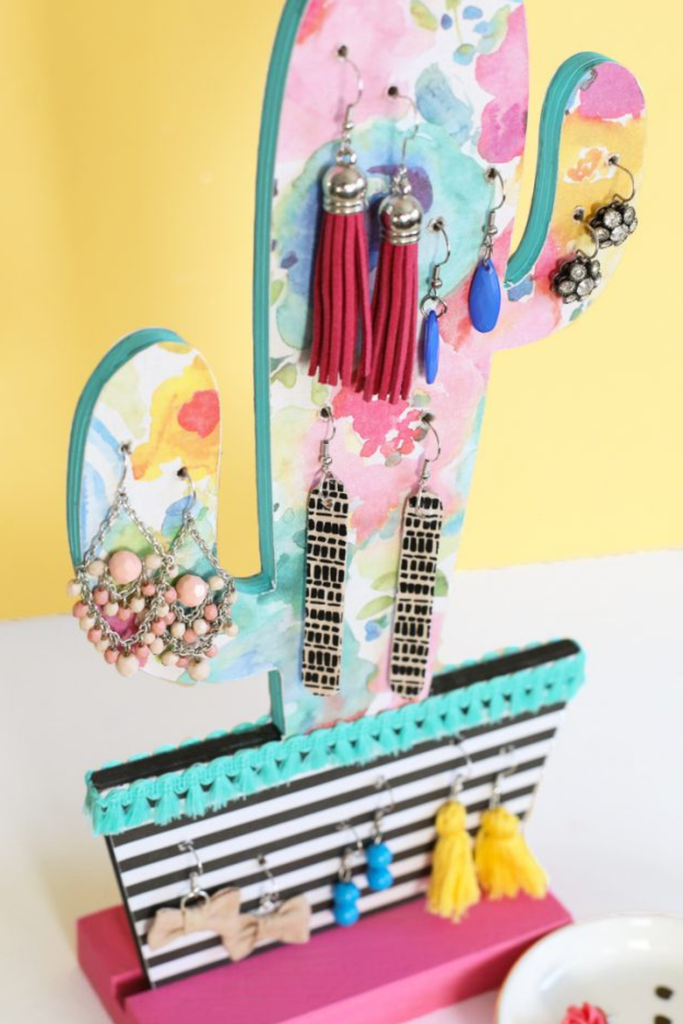
Cactus Stand
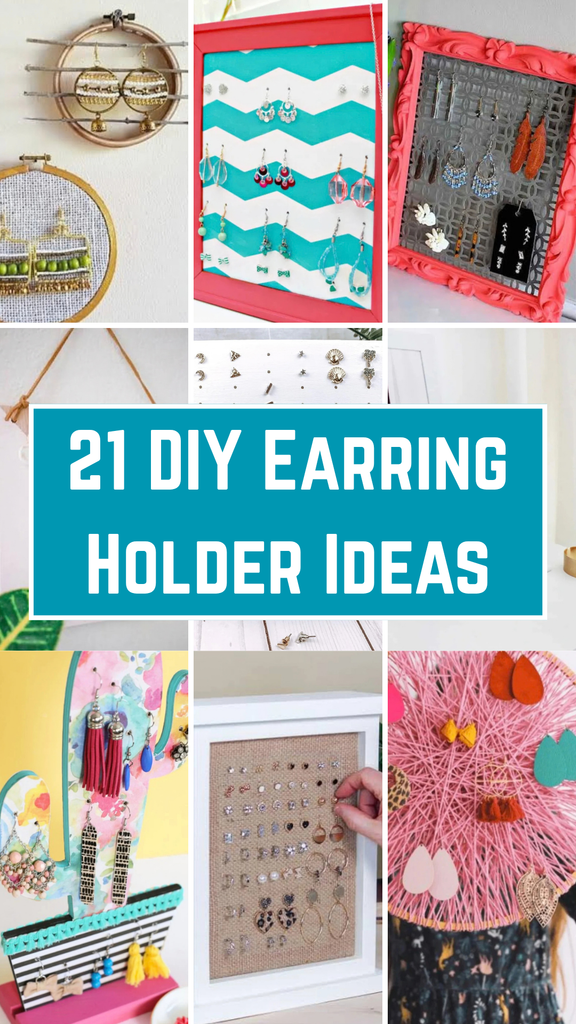
A cactus-shaped earring holder brings a playful, colorful touch to jewelry storage.
The tall branches provide separate spots for hanging statement earrings, while the lower striped section holds smaller pairs.
Cover the holder with floral fabric or patterned paper to create a bright handmade finish.
A sturdy painted base keeps the display upright, making it a fun addition to a bedroom vanity, craft room, or dressing area.
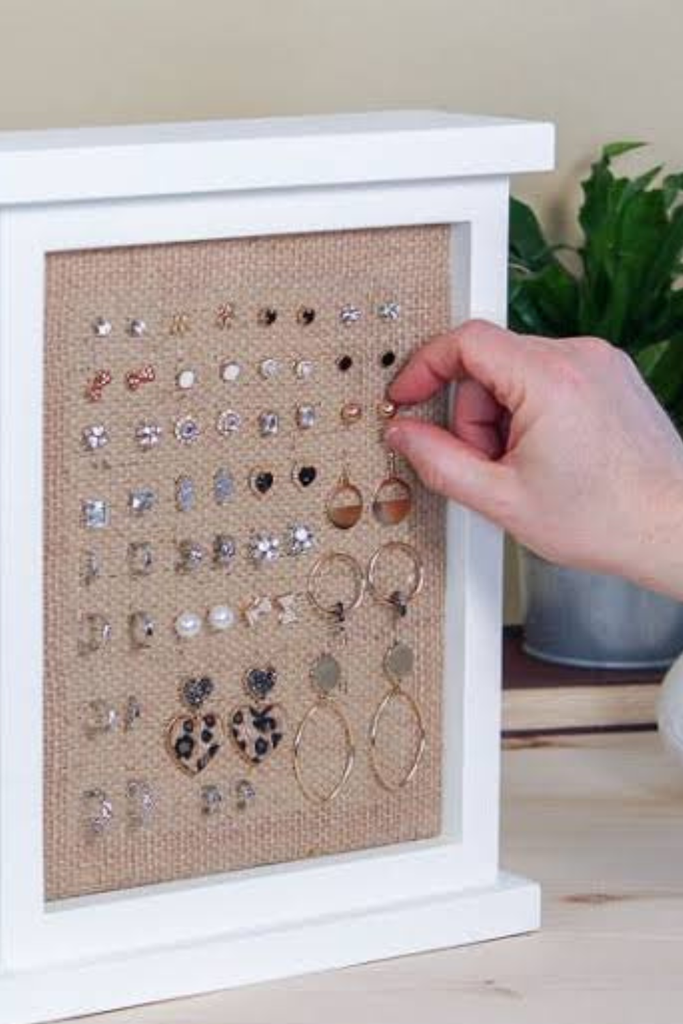
Burlap Frame
Turn an old wooden frame into a compact jewelry display by stretching burlap across the opening and securing it tightly behind.
Place it on a bedroom dresser or vanity where you can see every pair while getting ready without searching through drawers.
Use small earrings across the upper area and larger hoops below, leaving enough space between pairs so each design stays easy to grab.
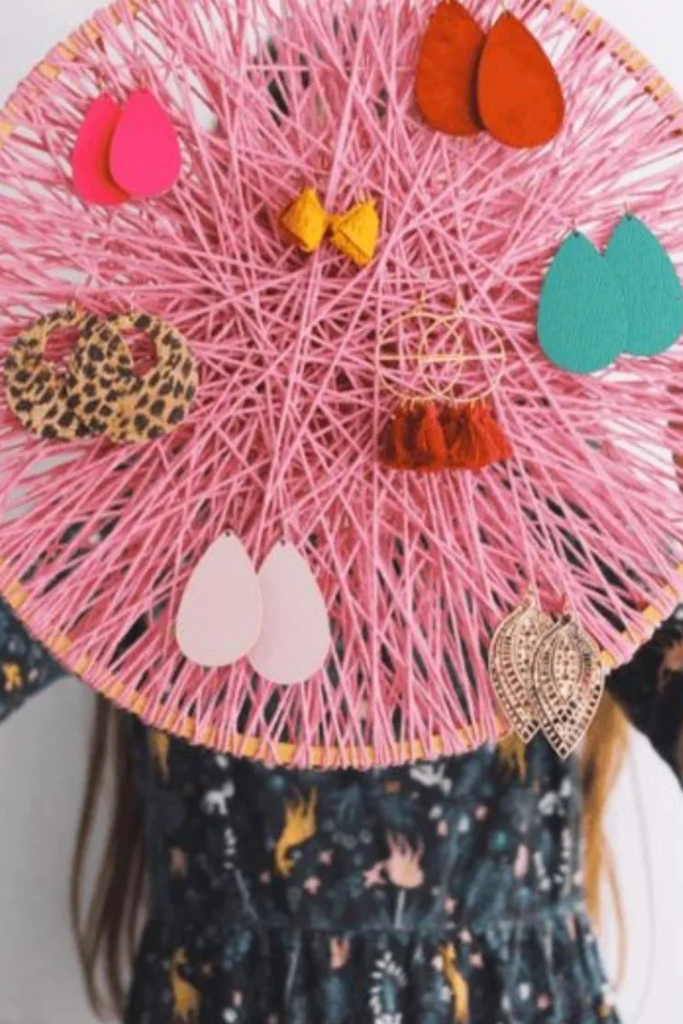
Yarn Web
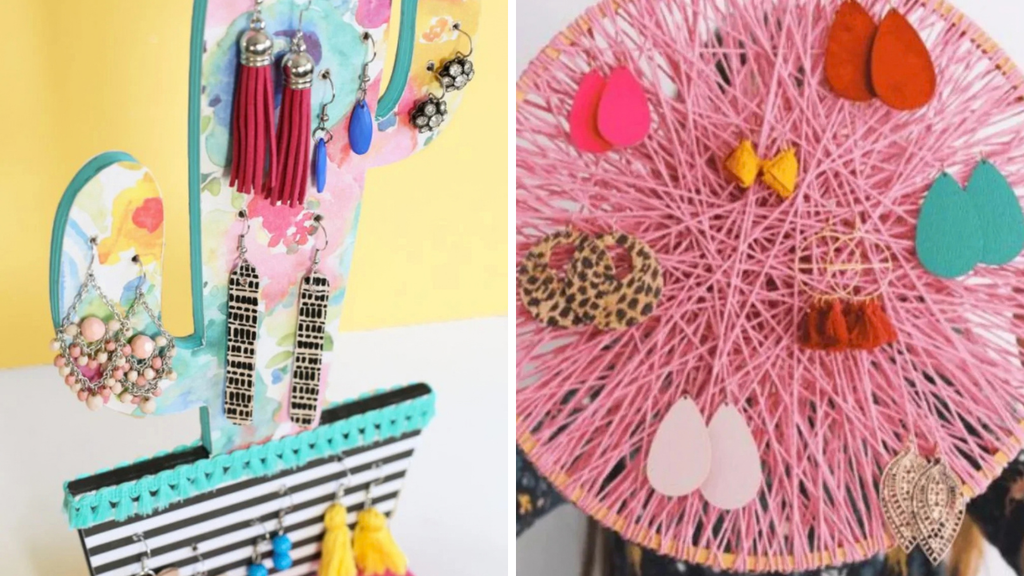
Give your embroidery hoop a colorful twist by wrapping yarn across the opening until you create a dense, crisscrossed surface.
Use bright yarn colors to match a teen bedroom, craft corner, or playful vanity where the holder can double as wall decor.
Leave small gaps between the strands so earring hooks slide through easily, then arrange statement pieces around the hoop for quick access.
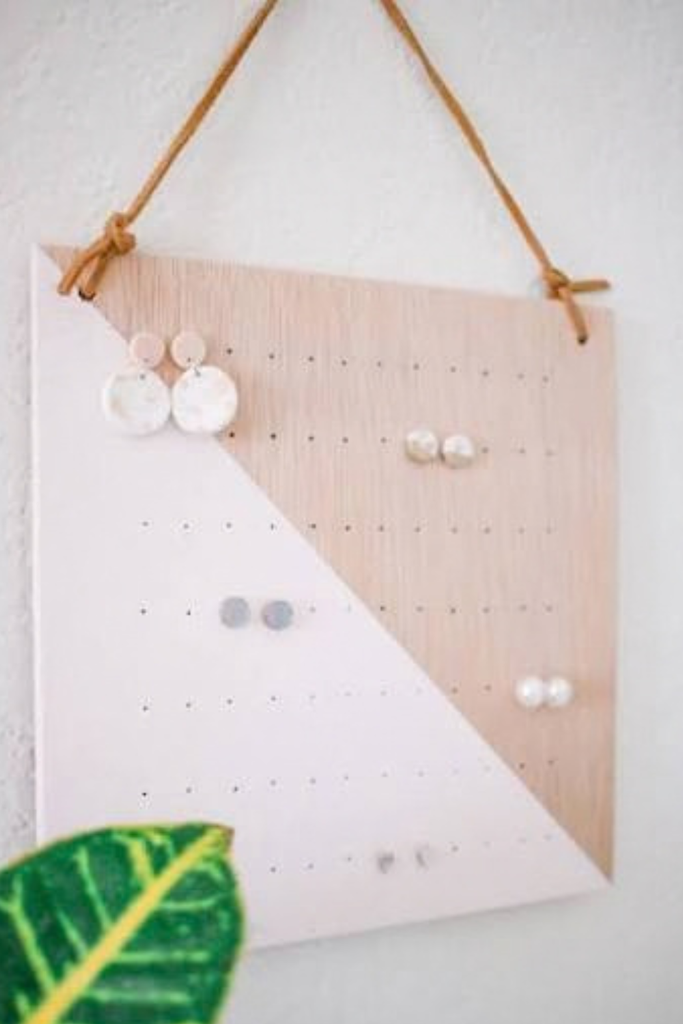
Plywood Display
A simple plywood board can turn into a clean earring display when you drill evenly spaced holes across its surface.
Keep the finish light and natural for a bedroom wall, then add a leather cord so you can hang it easily.
Place studs by size and leave wider gaps for larger pairs, giving each earring enough room without making the board look crowded.
Floral Frame
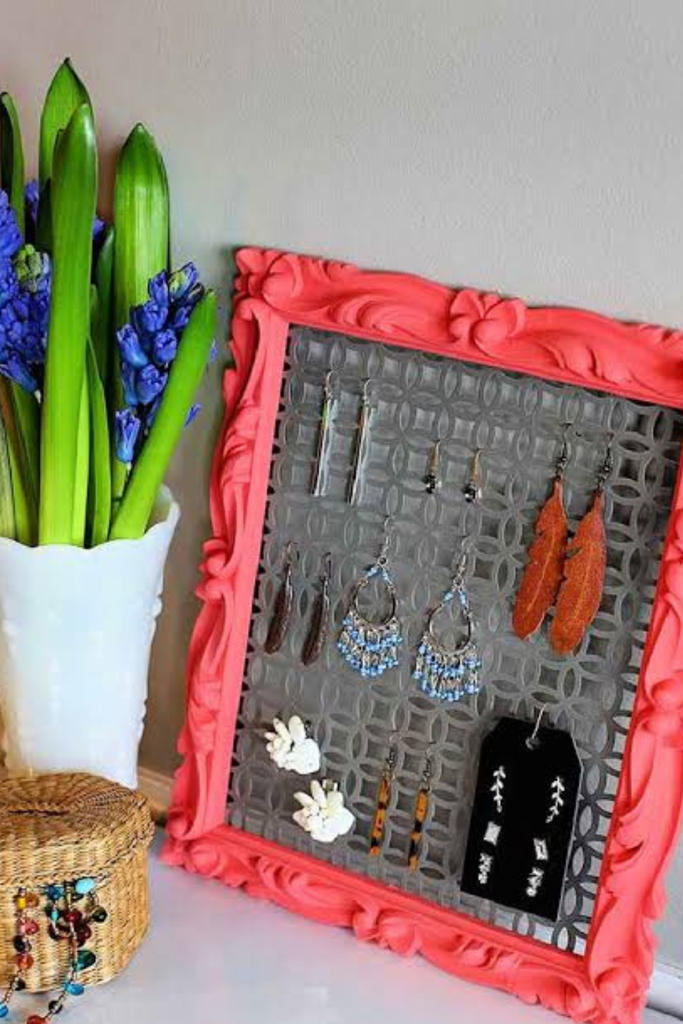
Give an old ornate frame a fresh purpose by adding a flexible mesh center that lets you hang several earring styles together.
Paint the frame in a bold shade for a dressing area where colorful jewelry storage can also work as eye-catching decor.
Use the mesh for long earrings and hoops, while small compartments at the bottom can keep delicate studs organized and visible.
Acrylic Stand
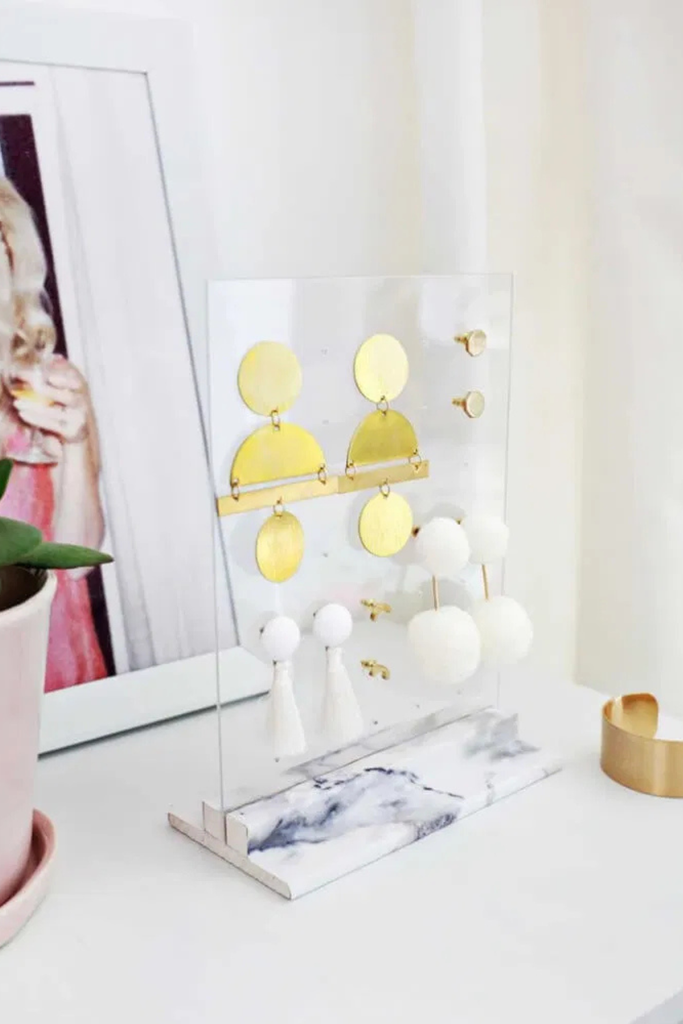
Keep your everyday earrings visible with a clear acrylic stand that takes little space on a vanity or dresser top.
Add a marble-look base and simple gold accents if you want the holder to match a clean, modern bedroom.
Use small drilled holes for studs and narrow slots for dangles, keeping each pair separated so your favorite pieces stay easy to choose.
Chevron Frame
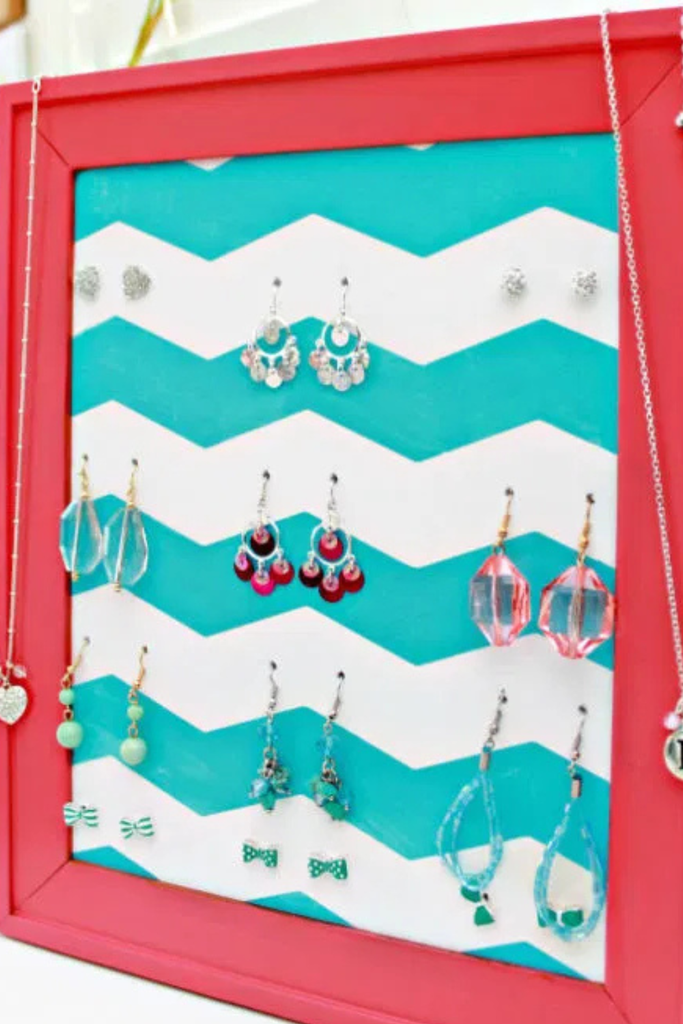
Give an old picture frame a fresh purpose by adding a bold patterned backing, creating a colorful display for everyday earrings.
Hang it above your vanity or dresser, where the bright background can add personality while keeping pairs visible and easy to choose.
Cut matching rows across the backing, then attach small hooks or pierce openings so studs and dangling earrings stay separated.
Wire Hoop
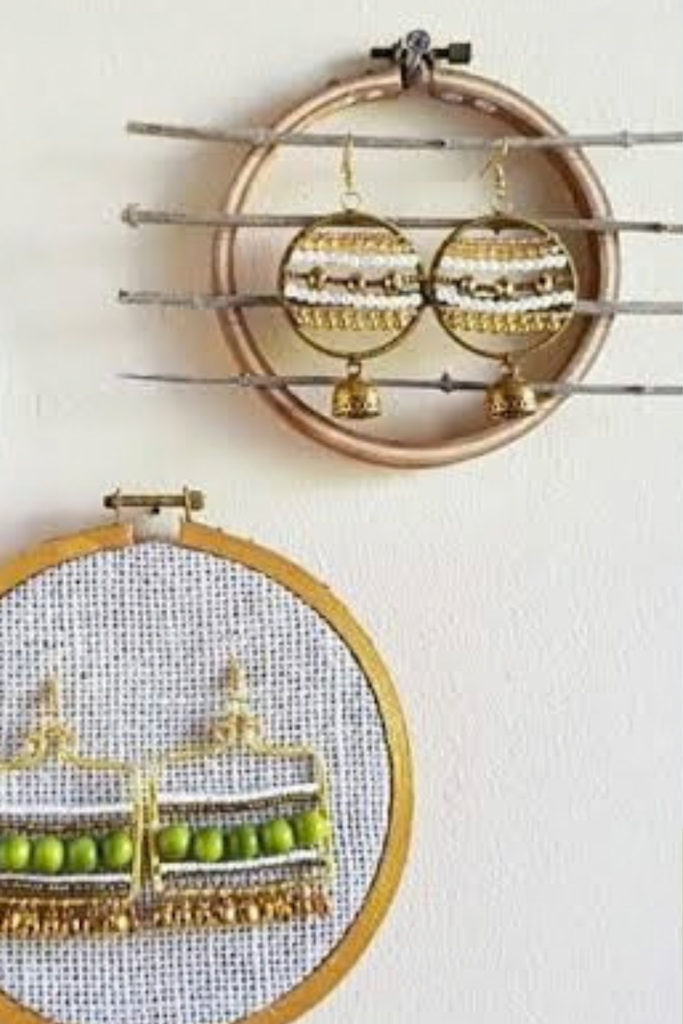
Turn an embroidery hoop into a simple wire display by stretching several thin wires across the opening and securing them firmly.
This compact design works well above a vanity or beside a mirror when you want small earrings visible without using drawer space.
Keep wider gaps for longer pairs, then use the lower wires for smaller pieces so every earring remains separated and easy to grab.
Painted Board
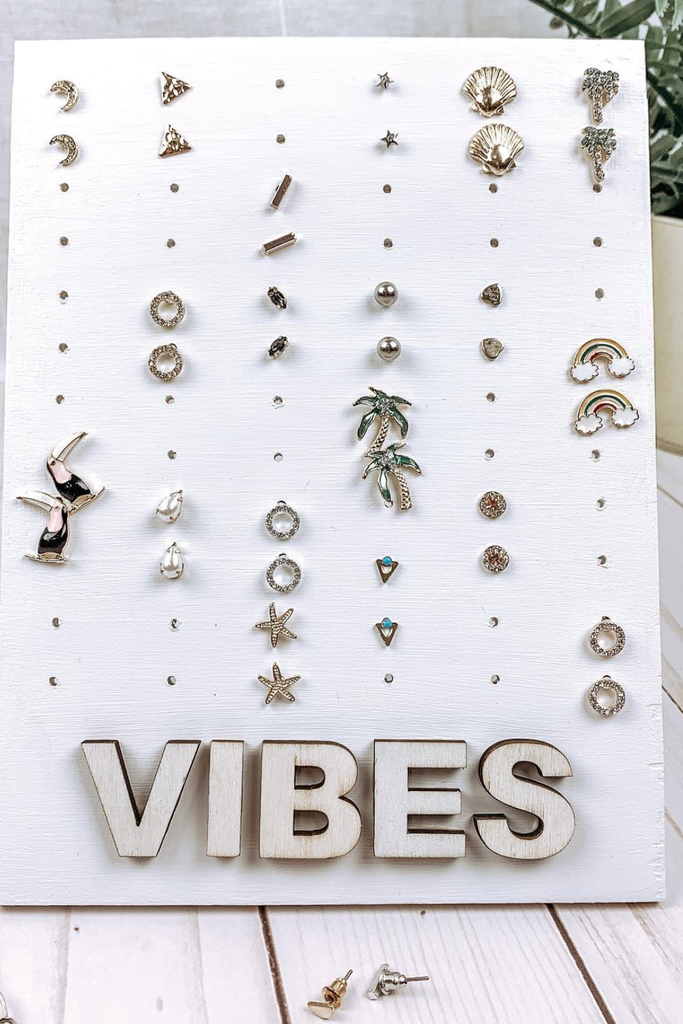
A painted wooden board with evenly spaced holes gives stud earrings a dedicated spot while keeping your collection visible daily.
Mount it near a vanity or keep it on a dresser, then arrange pairs in rows to make choosing earrings quicker.
Paint the board to match your room, and leave extra holes open so you can add new pairs without rebuilding the organizer.
Playful Mesh
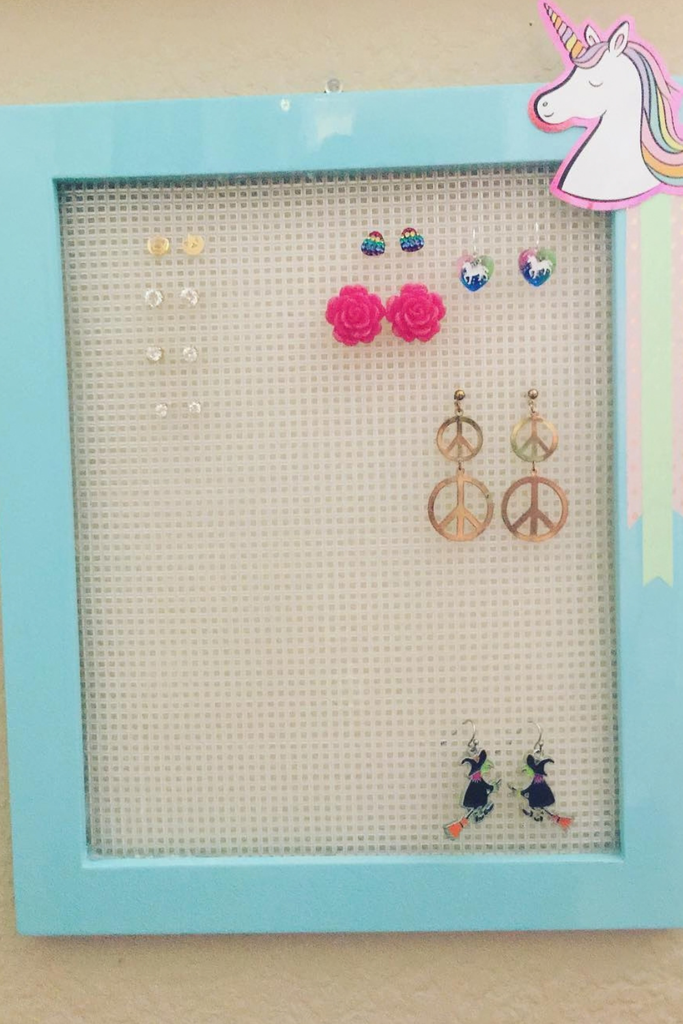
Make a playful earring display from a plastic mesh sheet and a brightly painted frame, especially for a colorful bedroom or craft corner.
Cut the mesh to fit snugly inside the frame, then secure it behind the backing so studs and dangling pairs can pass through.
Add a small theme decoration, such as a unicorn, and hang the finished piece where children can reach their favorite earrings easily each morning.
Rope Ladder
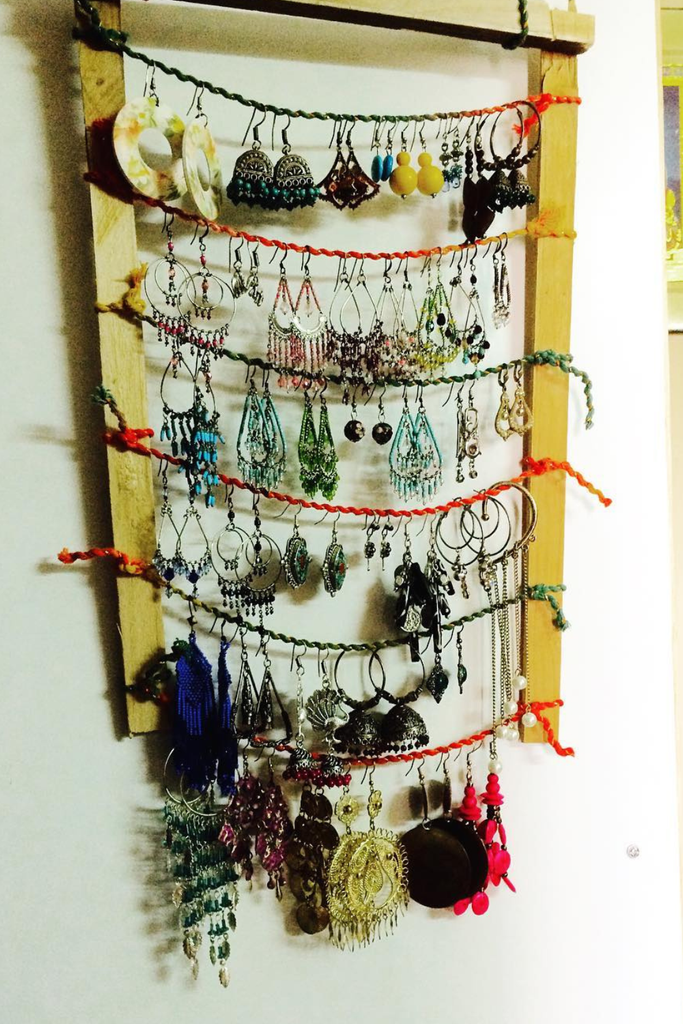
Turn two wooden strips and several colorful cords into a vertical holder when your earring collection needs plenty of hanging space.
Mount it beside a mirror or closet door, then space each cord row apart so long earrings do not overlap.
Use different cord colors to separate earring styles or occasions, making a large collection easier to browse without searching through boxes.
Suitcase Display
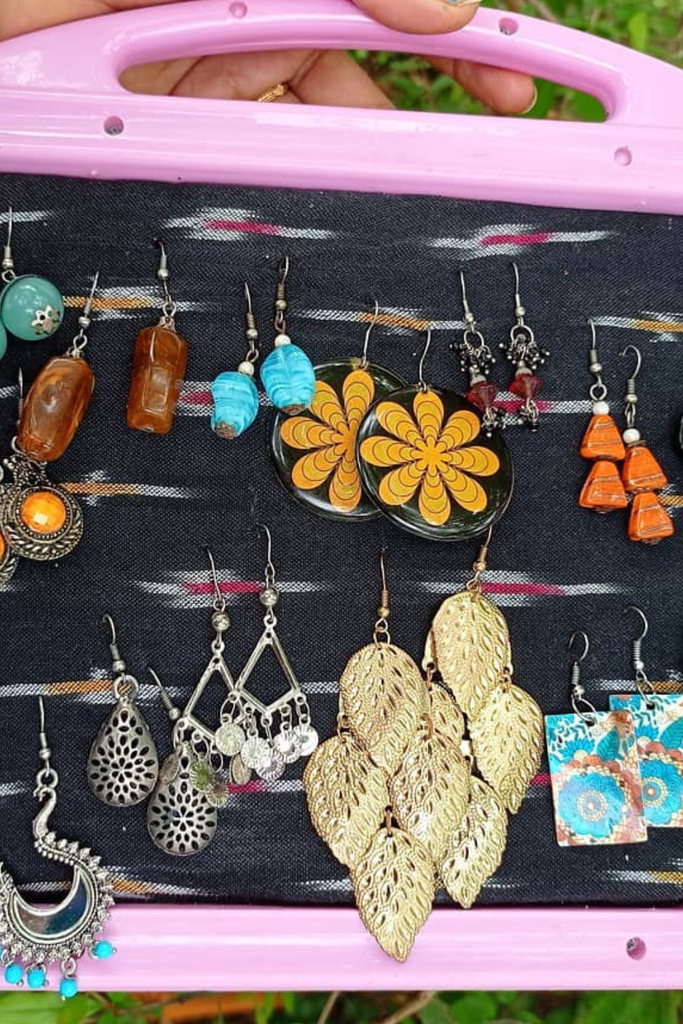
Give an old plastic case a useful second life by adding fabric inside, creating a portable holder for a colorful earring collection.
Keep it on a dresser or vanity, or close the case when traveling so your favorite pairs stay together without needing separate boxes.
Attach earrings through the fabric, then arrange them by color, size, or style to make the large collection easier to browse.
Craft Stick Rack
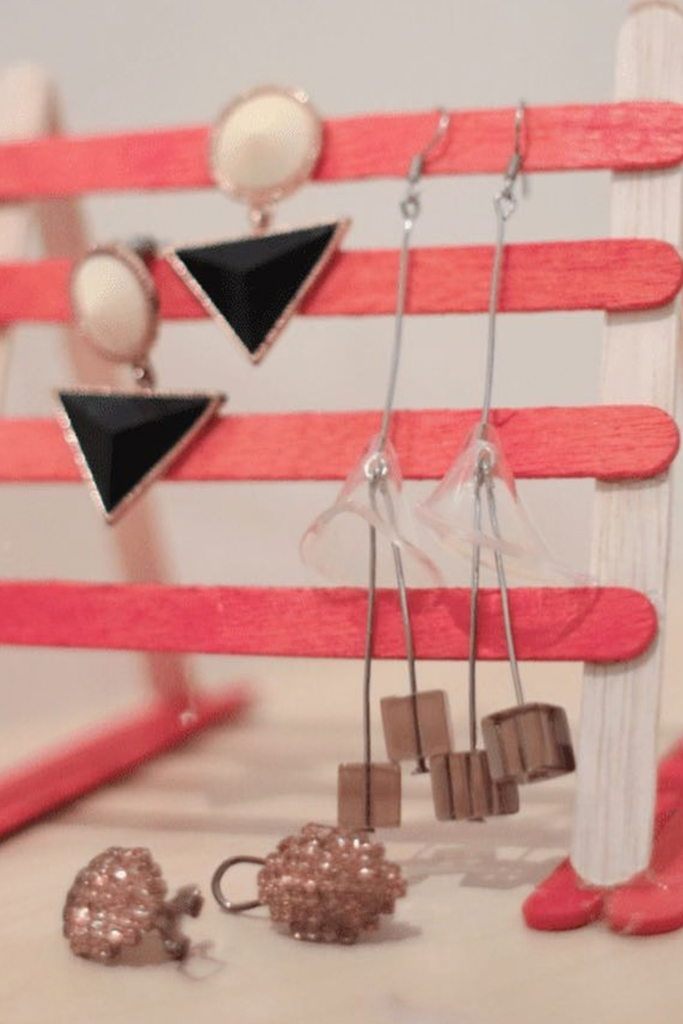
A few craft sticks can become a compact earring rack, making this a handy project for a small vanity or bedroom shelf.
Glue two longer sticks upright, then add shorter sticks across them, leaving even gaps for hanging different earring lengths.
Paint the sticks in your favorite color and keep the finished rack lightweight, so you can move it whenever your setup changes.
Lace Frame
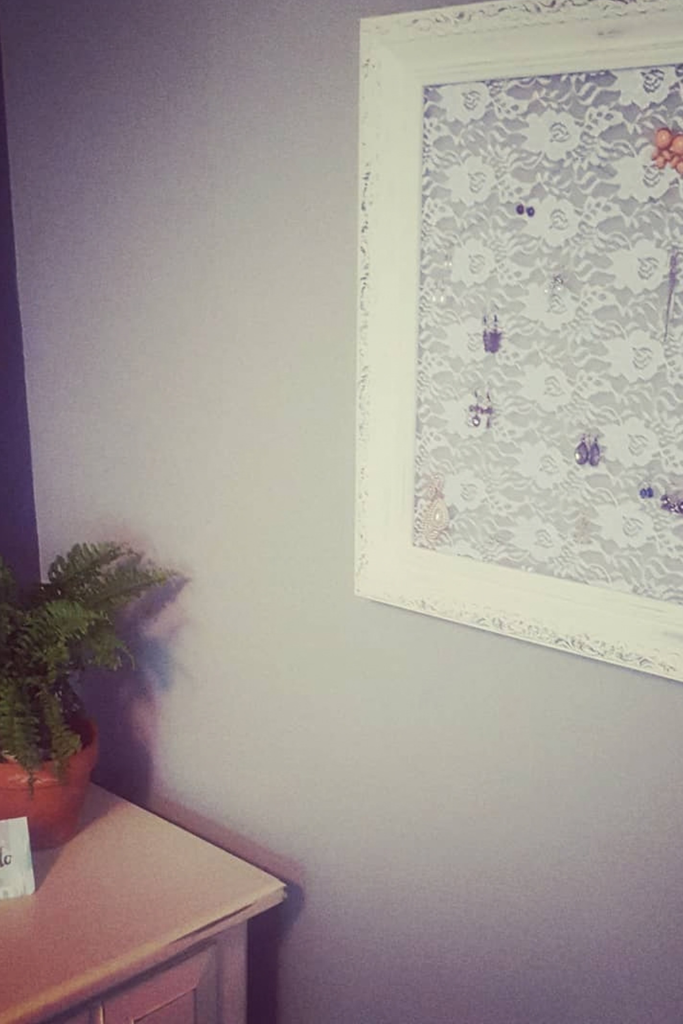
Give a decorative frame a softer look by stretching lace across the opening, creating an elegant background for delicate earrings.
Hang it above a dresser or vanity, especially in bedrooms with vintage or feminine decor where the holder can complement surrounding details.
Choose sturdy lace with an open pattern, then push earring hooks through the fabric while keeping smaller pairs spaced apart.
Slat Display
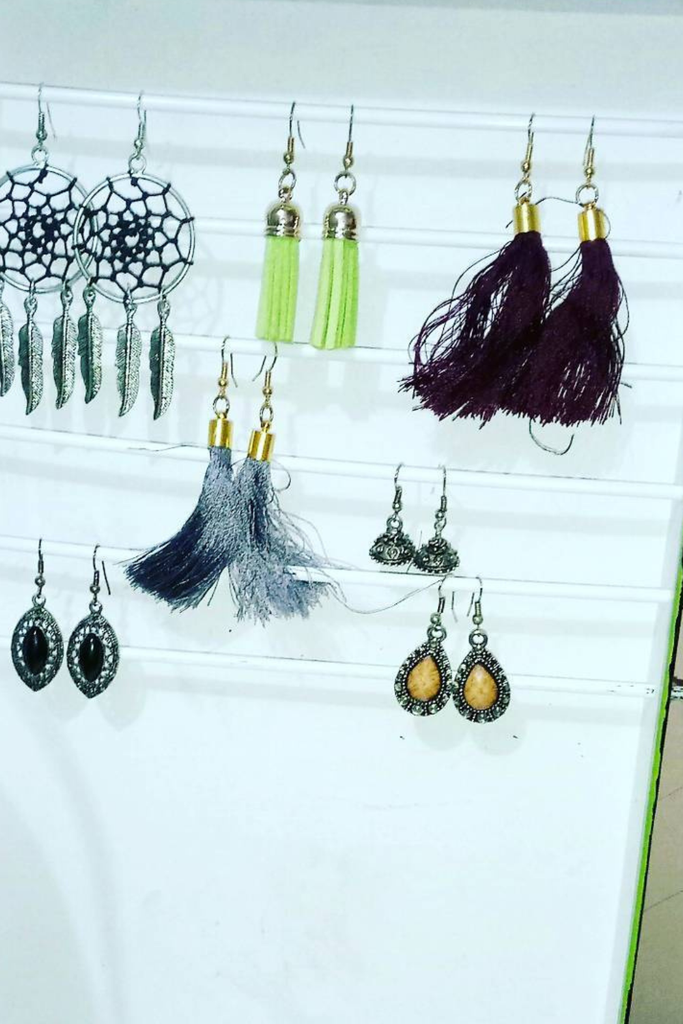
Long earrings deserve vertical space, so use a shallow wooden frame with horizontal slats that let each pair hang freely.
This works especially well beside a vanity or dressing mirror, where tassels, hoops, and statement pieces remain visible without crowding.
Paint the frame to match your room, then space each slat evenly so longer earrings can hang without touching those below.
Painted Slats
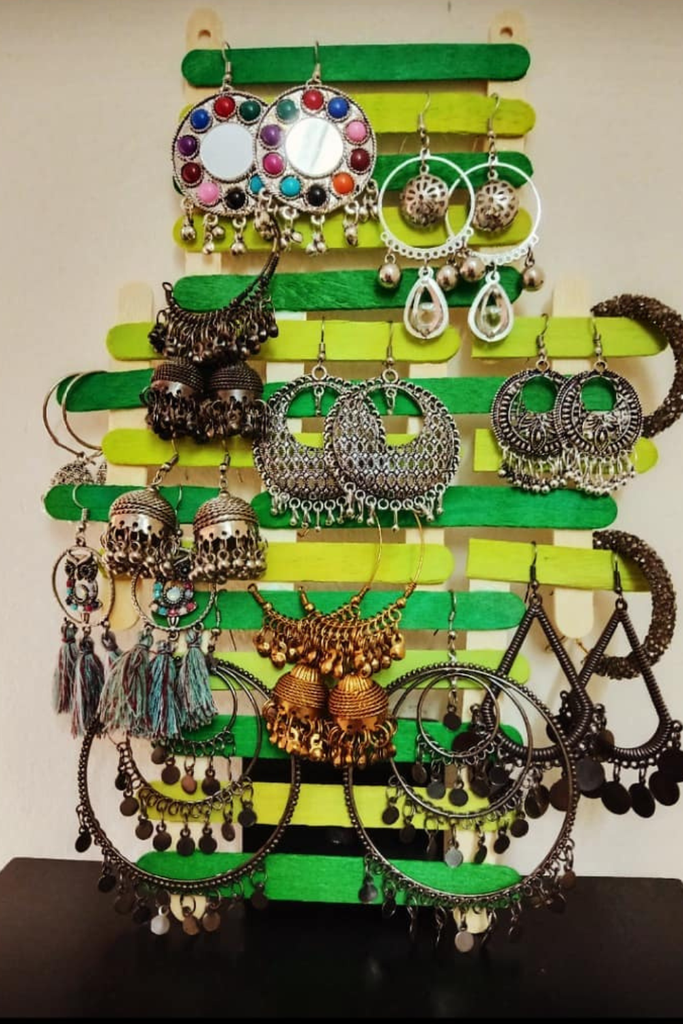
Give leftover craft sticks a second life by arranging them as uneven horizontal slats, creating a colorful backdrop for oversized earrings.
Mount the finished piece near a dressing mirror, especially if you own bold hoops or statement pairs that need plenty of visual room.
Paint alternate slats in two shades, then leave generous gaps between rows so long earrings hang freely without covering the designs below.
Jewel-Tone Display
Turn a plain frame into a stylish earring holder by covering its surface with a simple backing and adding evenly spaced hooks or pins.
Arrange earrings by color, shape, or size so each pair stays visible and easy to grab.
This setup works especially well for statement earrings because the open layout keeps larger designs from tangling.
Place the finished display on a dresser or vanity where it can also add a decorative touch.
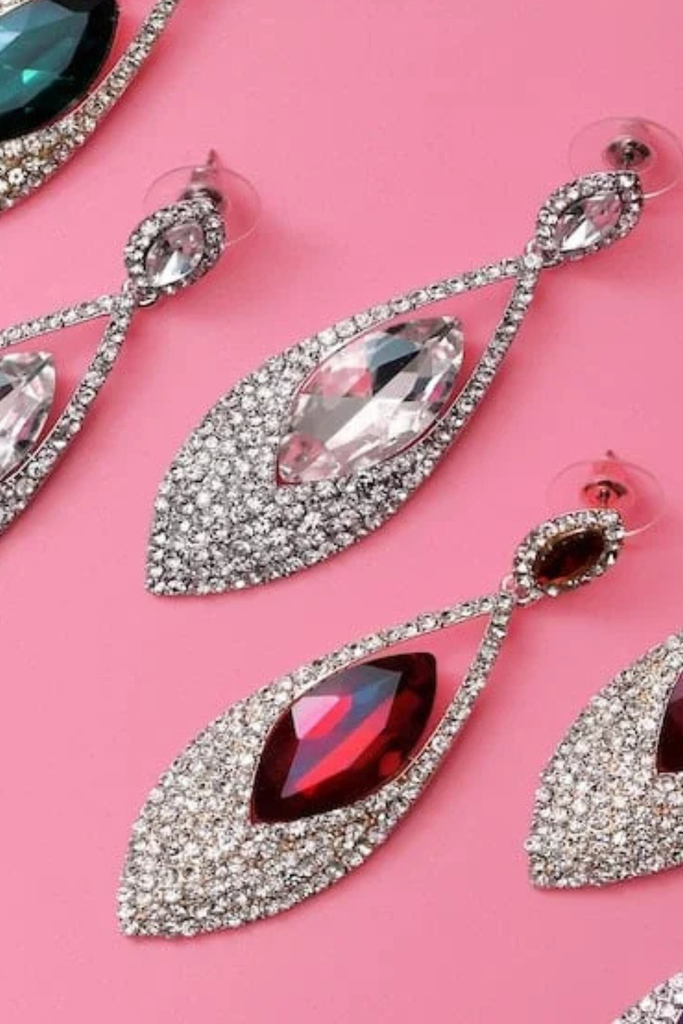
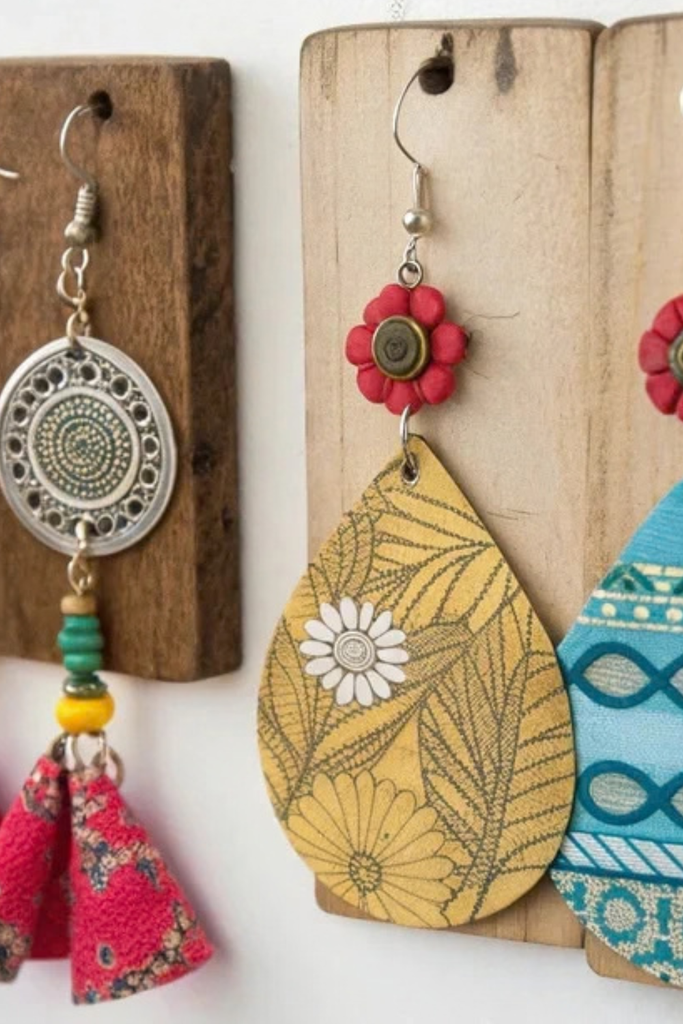
Rustic Boards
Small wooden boards create a simple, rustic home for displaying earrings. Each board has drilled holes that hold individual pairs, keeping the jewelry separated and easy to reach.
The natural wood background works beautifully with colorful, handmade earrings, while the compact size makes the holder suitable for a dresser, vanity, or wall.
Using different wood tones also adds character and lets you create a coordinated display with several matching holders.
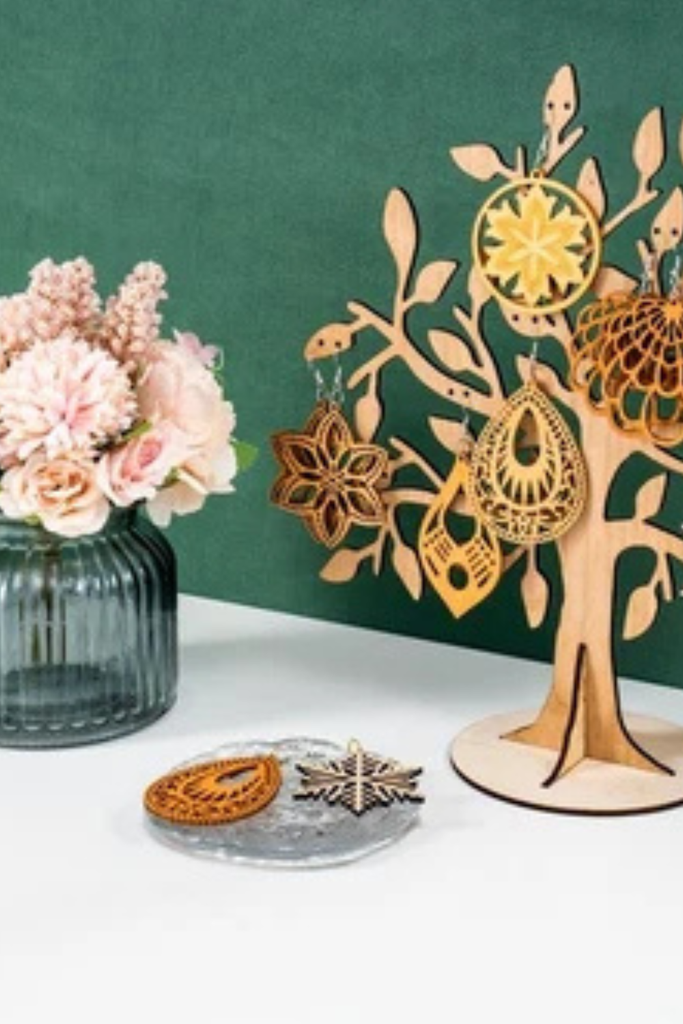
Jewelry Tree
A wooden jewelry tree turns earring storage into a decorative centerpiece. Its branching design provides plenty of spots for hanging earrings while keeping each pair visible and separated.
The laser-cut details add an artistic touch, making the holder feel more like decor than storage.
Place it on a dresser, shelf, or vanity, and use different branches to organize earrings by style, color, or occasion.
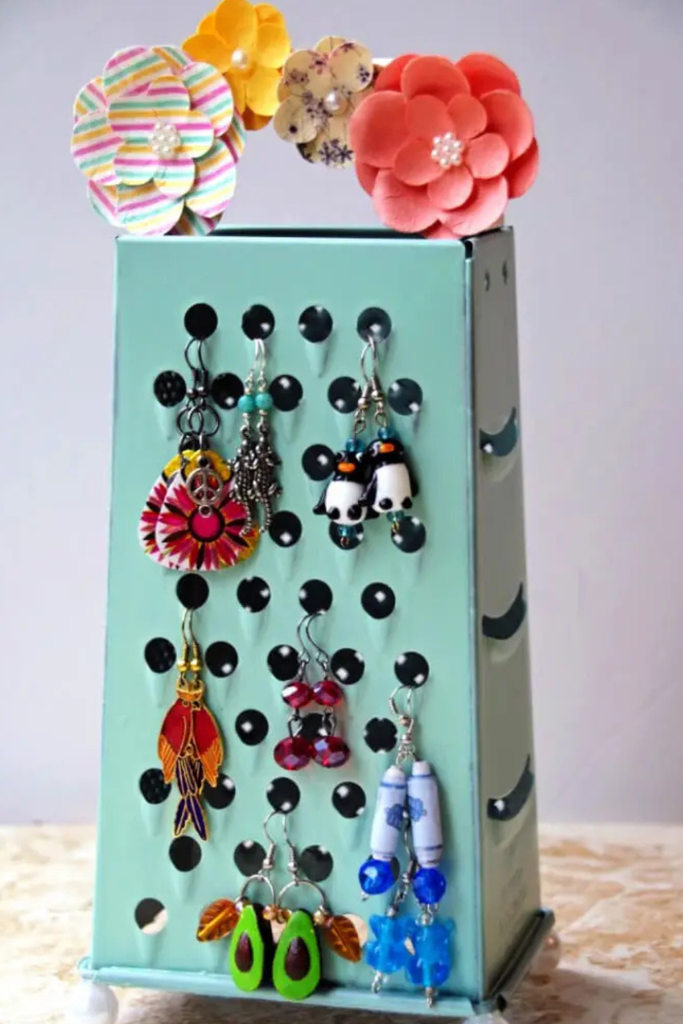
Upcycled Grater
Give an old cheese grater a creative second life by turning its perforated surface into an earring organizer.
The existing holes make it easy to hang different pairs without drilling or adding hooks. Paint the grater in a bright color for a playful look, then place it on a small stand or add decorative feet.
This compact holder keeps colorful earrings visible while making an everyday kitchen item useful for jewelry storage.
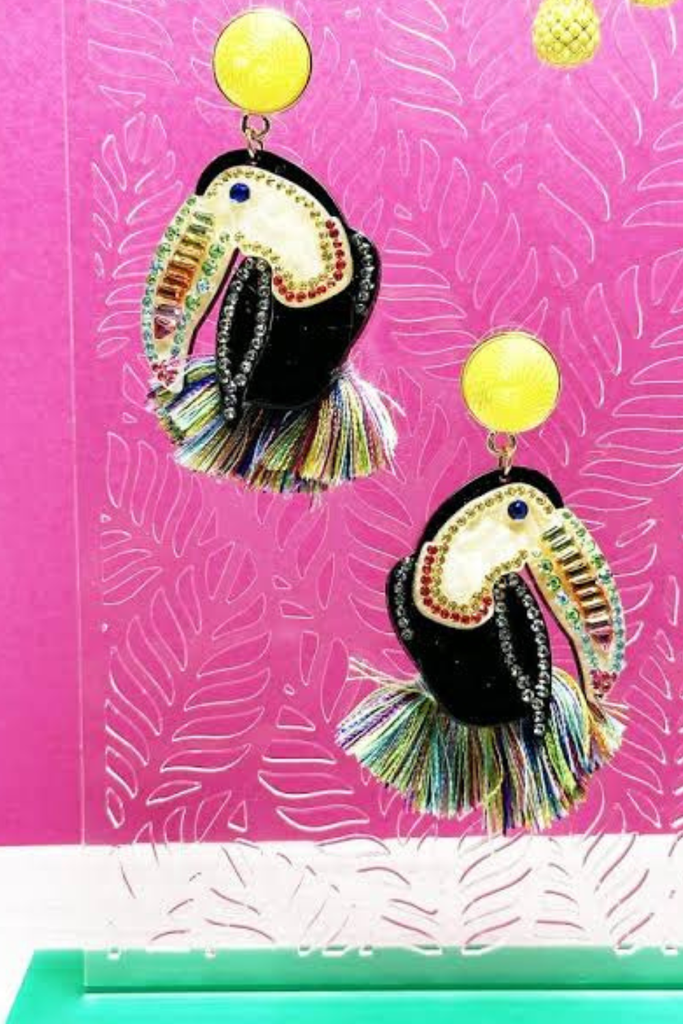
Acrylic Panel
A clear acrylic panel creates a clean backdrop for displaying bold statement earrings.
The colorful bird-shaped pair stands out against the patterned pink surface, turning the organizer into a decorative piece.
A simple base keeps the panel upright on a vanity or shelf, while the transparent material maintains an open, lightweight look.
Add small hooks or drilled holes to create dedicated spaces for different earring styles.
FAQs
How Can I Keep Earrings From Tangling?
Choose a holder with separate hooks or evenly spaced holes so each pair has its own spot.
Keep long and lightweight earrings on different sections to prevent them from overlapping.
A wall-mounted or rotating organizer can also make individual pairs easier to see and reach.
What Material Works Best for an Earring Holder?
Wood, acrylic, mesh, and repurposed frames all work well for DIY earring holders.
Acrylic gives a clean modern look, while wood adds warmth and a handmade feel.
For a creative project, recycled items such as frames, grater surfaces, or craft sticks can become practical jewelry organizers.

Hi, my name is Zeeshan, and I am the founder of The Crafts Geek. I have been passionate about DIY projects, home organization, and creative problem-solving for years. Over time, I realized that simple storage solutions and practical DIY ideas can make a huge difference in how a home looks and functions.