If your giant candy props keep looking more like oversized crafts than real candy, the problem usually comes down to materials, scale, and finishing.
You need the right base to get the shape, the right size to make it feel truly giant, and a few simple details to give it that candy-shop look.
In this guide, you’ll learn how to build, paint, wrap, and finish giant candy decorations without making the project harder or more expensive than it needs to be.
How to Make Giant Candy Decorations?
Start with the shape and size you want before buying materials.
A giant lollipop needs a lightweight round base, while a candy cane needs something flexible enough to curve without becoming too heavy.
Foam board, cardboard, pool noodles, plastic bowls, balloons, and PVC all work for different designs.
Build the main shape first, then paint it with bold candy colors and clean stripes or swirls.
For wrapped candies, finish with clear cellophane and ribbon.
If you’re making outdoor props, add a sturdy base so wind doesn’t knock them over.
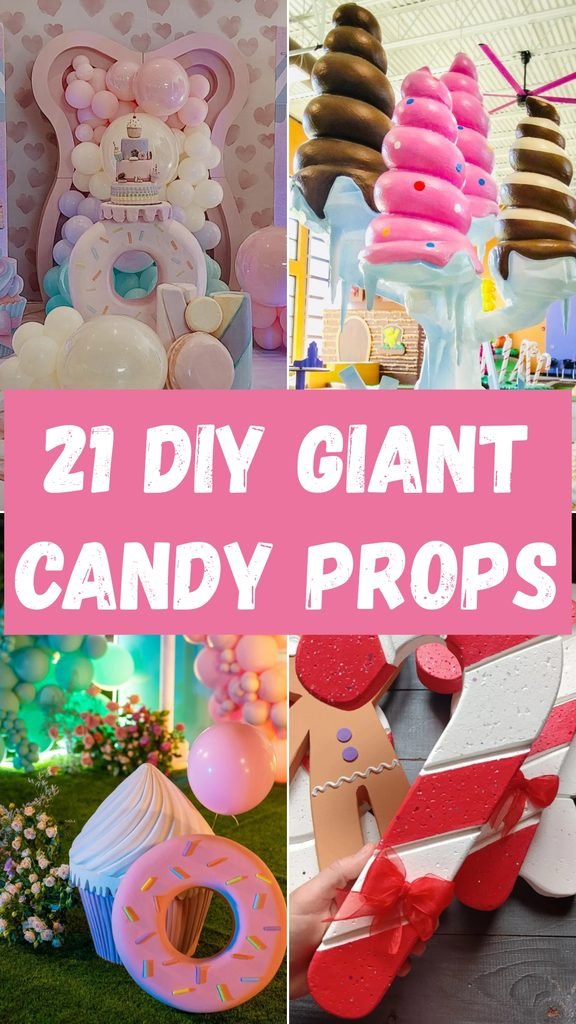
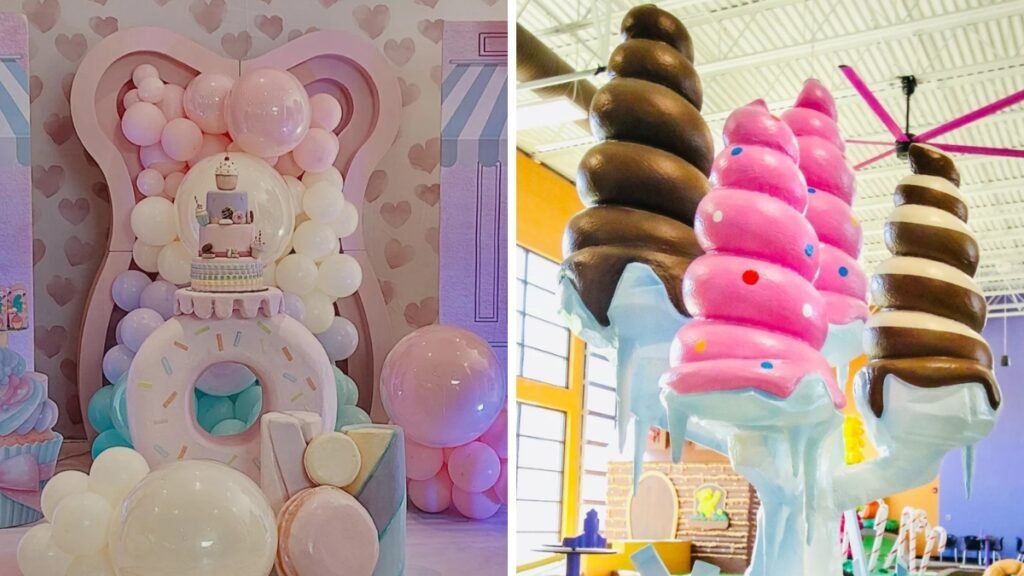
Ice Cream Towers
Turn oversized ice cream cones into statement candy props by stacking lightweight foam scoops over sturdy cone-shaped cardboard bases.
For a playful party entrance, paint each scoop in bright pink or chocolate brown, then add small candy dots for contrast.
Keep the cones tall but lightweight, and anchor their bottoms to wide platforms so the finished props stay steady around guests.
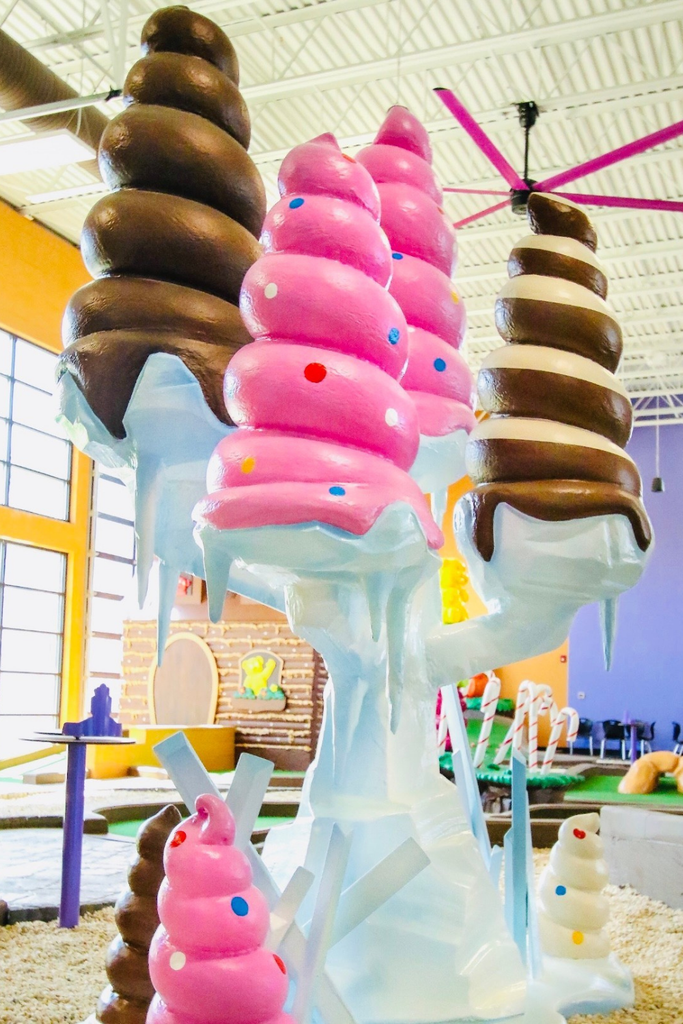
Pastel Candy Shop
Turn a simple dessert table into a pastel candy shop by combining oversized donut props, macarons, balloons, and candy-shaped backdrops.
Use foam board or lightweight foam for the large donut, then add raised icing and colorful sprinkles to create dimension.
Keep the palette soft with pink, white, lavender, and blue, and place matching balloon clusters around the display for a fuller setup.
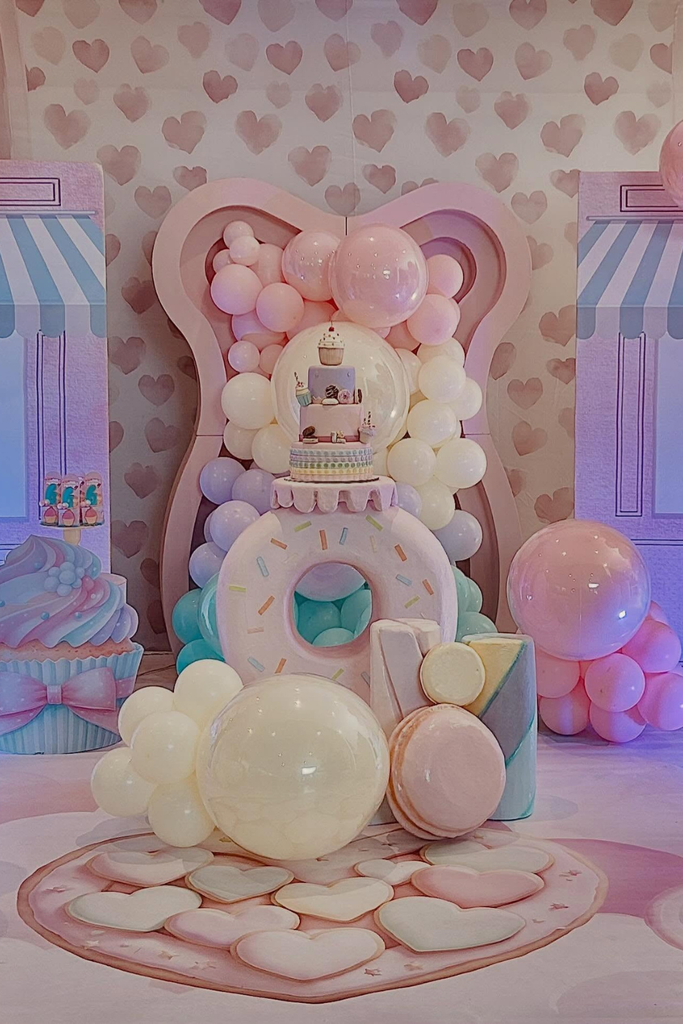
Peppermint Candy
Give a simple foam board a peppermint makeover by cutting large curved sections, then alternating red and white stripes across each piece.
Add a smaller foam circle at the center and sprinkle fine glitter over the paint while it remains slightly tacky.
For party displays, lean several oversized pieces together or attach them to a backdrop, using red ribbon bows to make them feel festive.
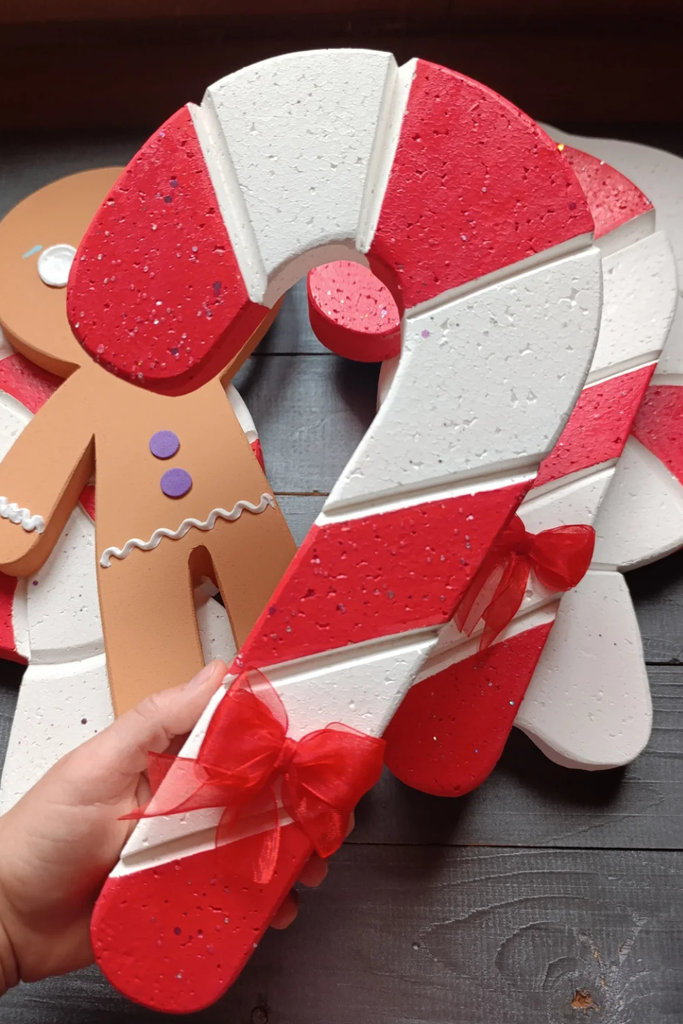
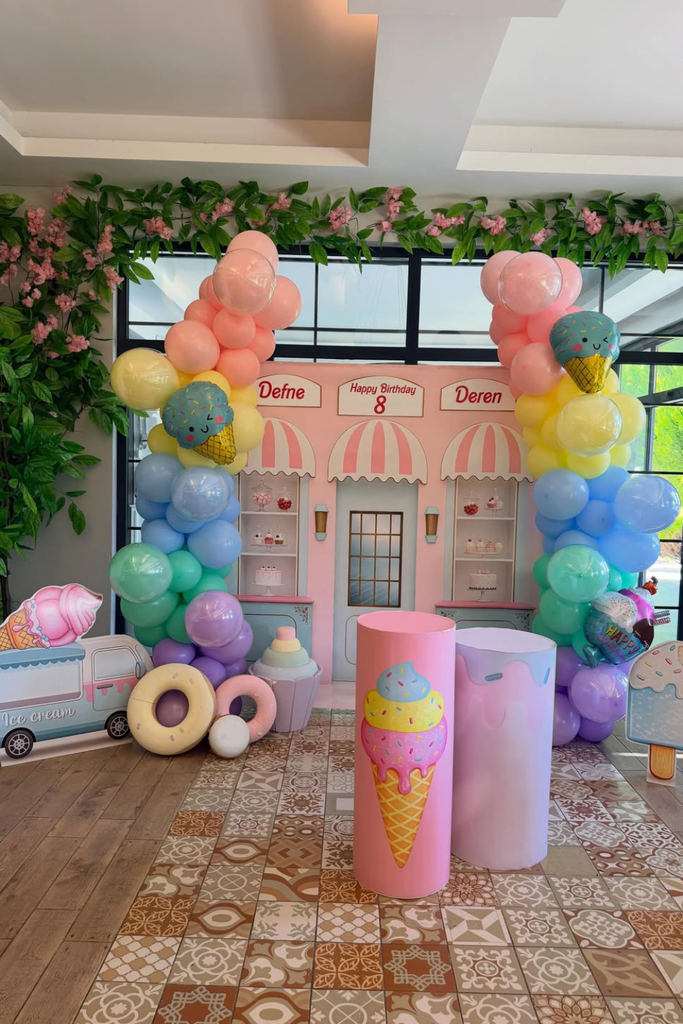
Ice Cream Shop
Build a full ice cream party backdrop when one giant prop isn’t enough to make the dessert theme feel complete.
Use foam board for the shop backdrop, lightweight foam for donuts and popsicles, and painted cardboard for tall display cylinders.
Finish everything in pastel pink, yellow, blue, and mint, then add balloon clusters around the frame to create a balanced photo area.
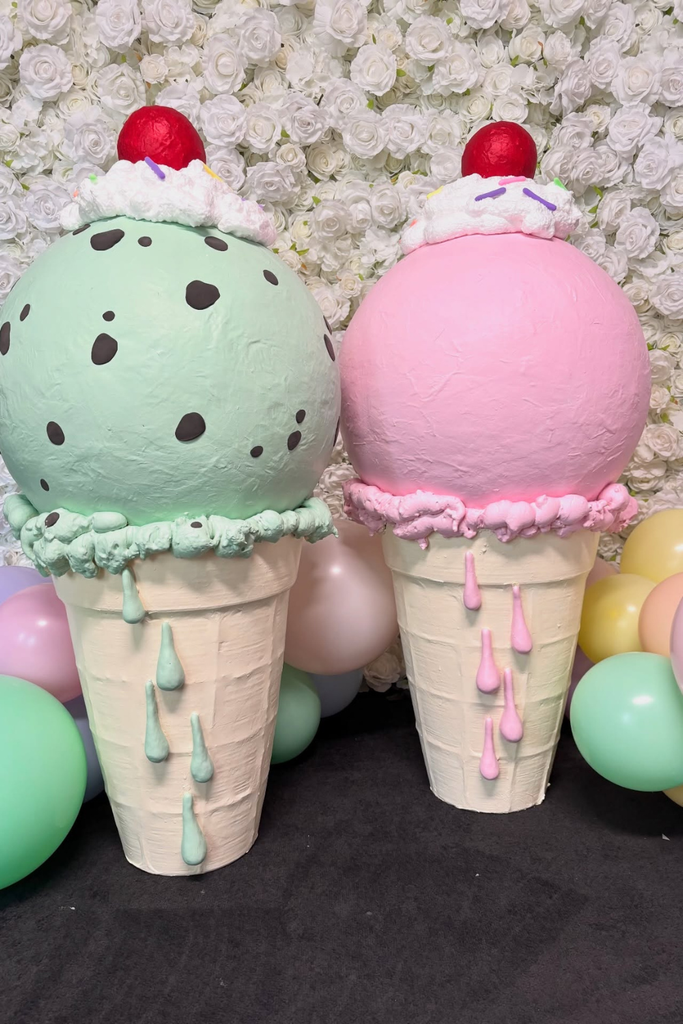
Oversized Cones
Make these oversized ice cream cones from large lightweight balls and sturdy cardboard cones when you need playful props for a dessert-themed backdrop.
Shape the scoops with foam or papier-mâché, then add raised frosting edges and chocolate chips to give each one more dimension.
For a softer party look, choose pastel flavors and place the cones beside a balloon garland or dessert table as photo accents.
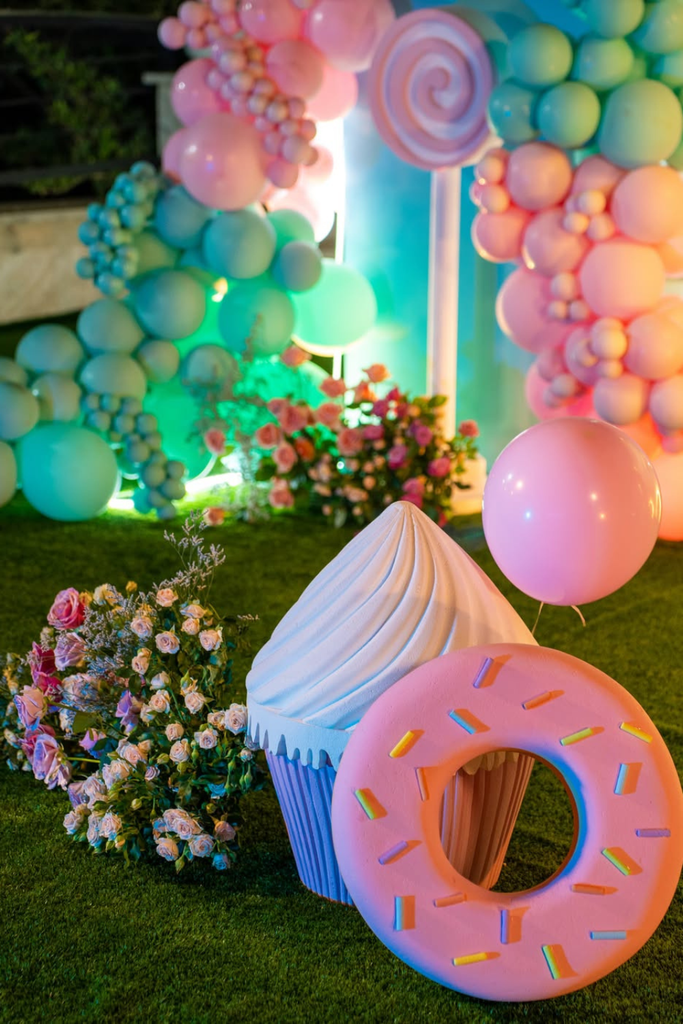
Giant Donut
A giant donut can anchor your candy display when you need one prop that instantly fills an empty corner with color.
Cut the ring from thick foam board, paint it pink, then glue short foam sprinkles across the surface for texture.
Lean it against a dessert table or backdrop, and add a large cupcake beside it to create a simple photo-ready arrangement.
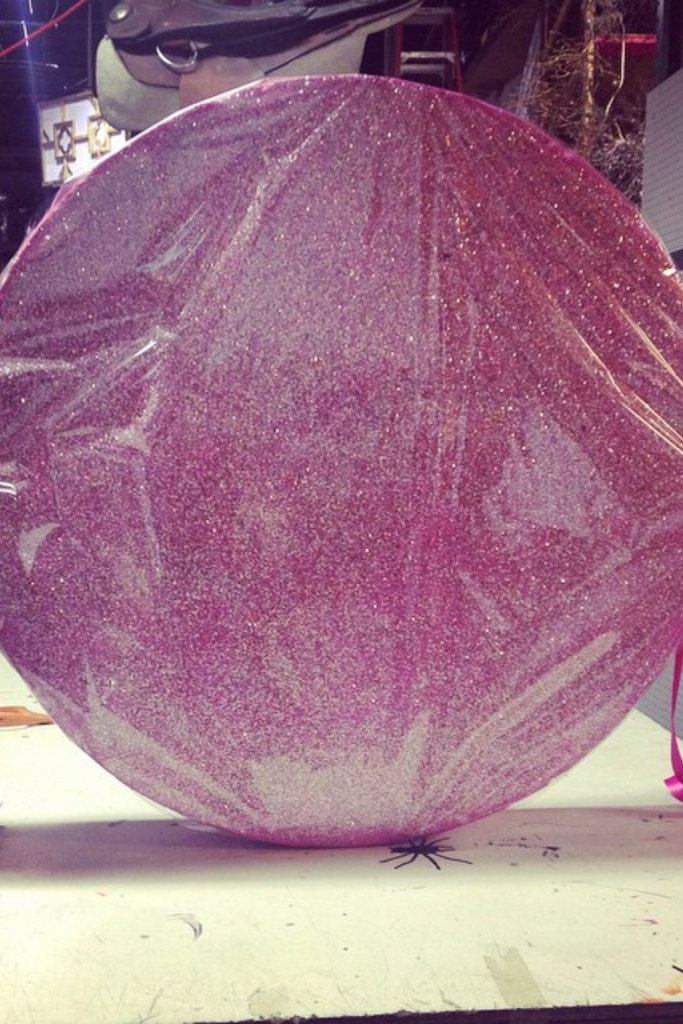
Glitter Candy
Turn a large foam circle into an oversized wrapped candy by covering the painted surface with clear cellophane and adding plenty of glitter.
Pull the cellophane tightly around both sides, then gather the ends and secure them with bright ribbon bows for a finished wrapper.
Use this lightweight prop beside a dessert table, party entrance, or photo backdrop, where its shiny surface catches light and adds instant color.
Candy Party Backdrop
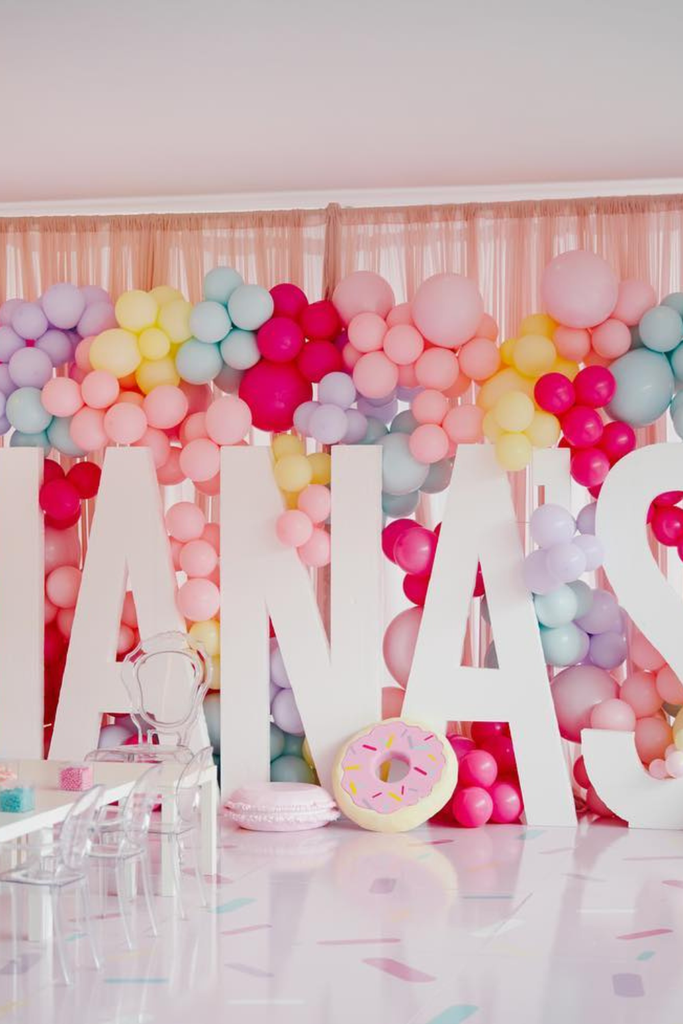
When you need your candy props to double as a party backdrop, oversized letters can turn the whole setup into a clear focal point.
Cut large letters from foam board, paint them white or pastel, and surround them with balloons, lollipops, popsicles, and donut props.
Add one or two freestanding candy shapes near the floor, so the backdrop feels layered and gives guests plenty of room for party photos.
Candyland Corner
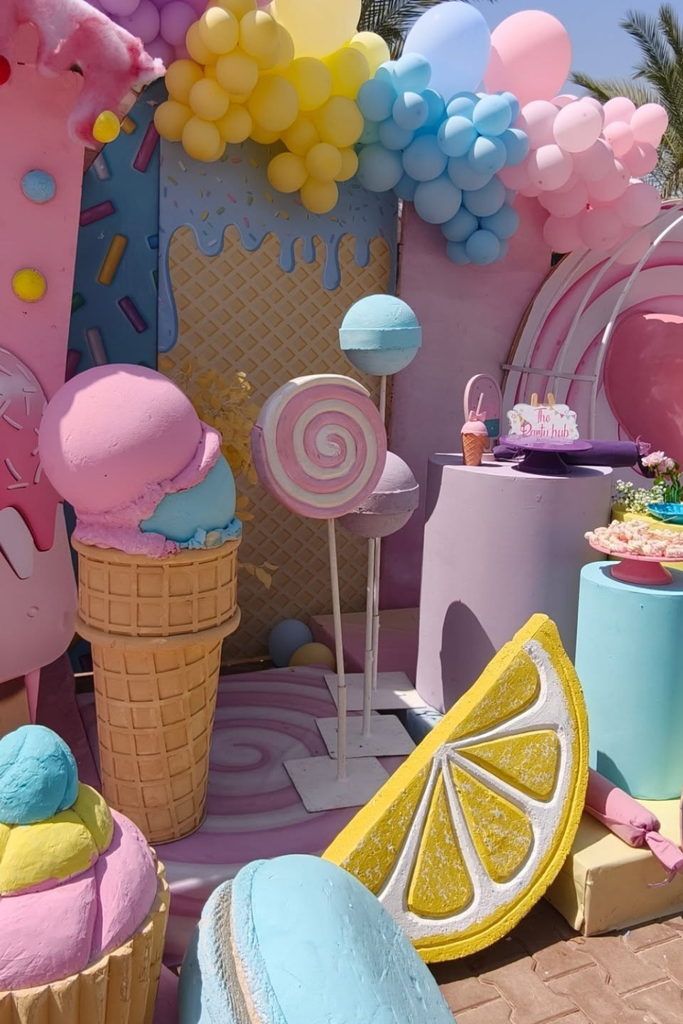
If you want to fill a large party area, combine oversized ice cream cones, popsicles, lollipops, and citrus slices instead of relying on one prop.
Build the larger shapes from foam board or lightweight foam, then paint simple details like sprinkles, waffle lines, melting icing, and candy stripes.
For an outdoor setup, place each piece at different heights and secure the bases firmly so the props stay stable without blocking the party space.
Candy Cart
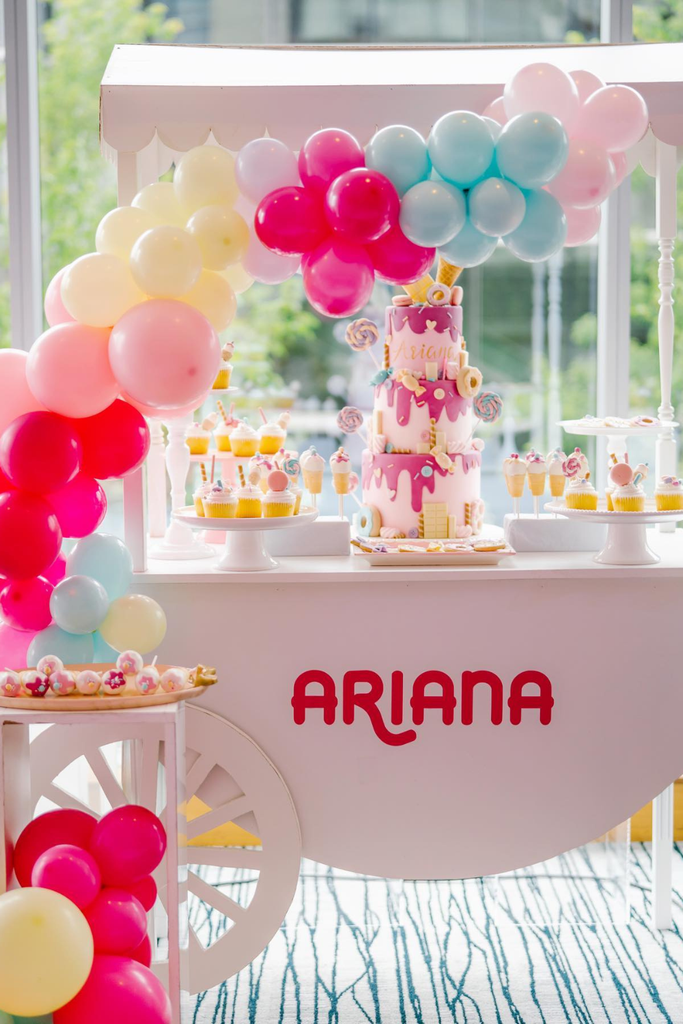
Turn a simple dessert cart into a giant candy prop by adding a lightweight canopy, pastel panels, and oversized candy decorations around the frame.
Use foam board to make lollipops and ice cream shapes, then attach them above the cart so they create a colorful focal point.
Finish the setup with matching balloons and real treats inside, making the cart useful for serving desserts while doubling as a party photo spot.
Dessert Stack
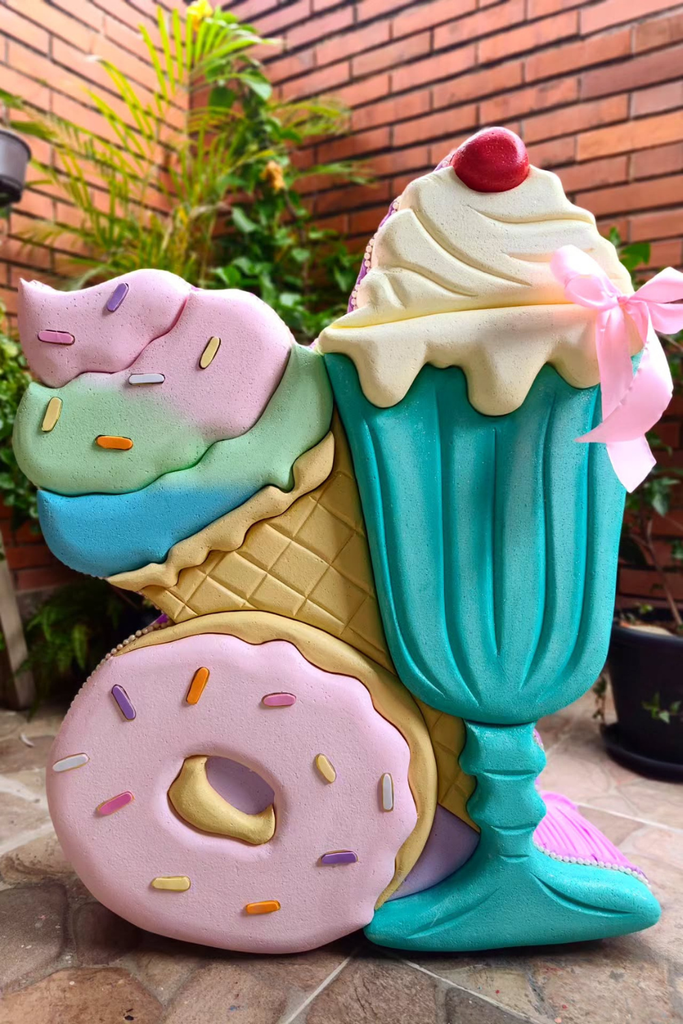
Sometimes one oversized dessert looks too plain, so stack ice cream, cupcakes, and donuts together to create a fuller candy display.
Use lightweight foam for each piece, shaping the icing with raised curves and drips before adding colorful sprinkles and small details.
Place the finished stack near a party entrance or dessert table, where its height creates an eye-catching display without needing many separate props.
Candyland Scene
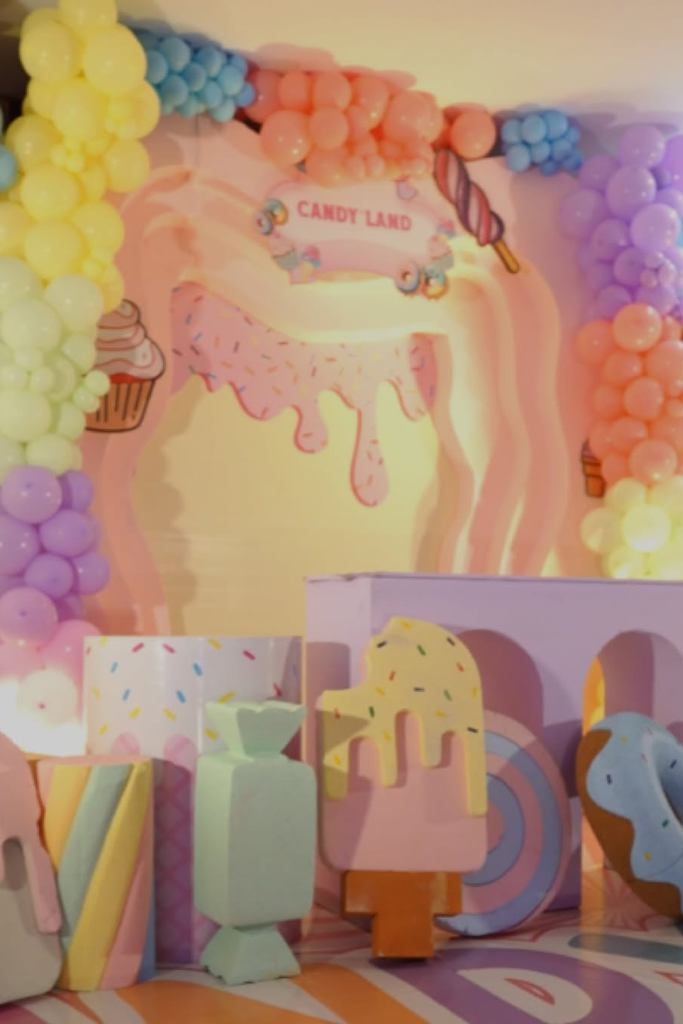
A Candy Land backdrop works especially well when you want several oversized treats to turn a plain party wall into an entire sweet scene.
Cut popsicles, wrapped candies, and lollipops from foam board, then layer smaller pieces over larger shapes to create depth without making props heavy.
Frame the backdrop with pastel balloons and place a few freestanding candies in front, creating a playful photo area that feels complete.
Candy Cutouts
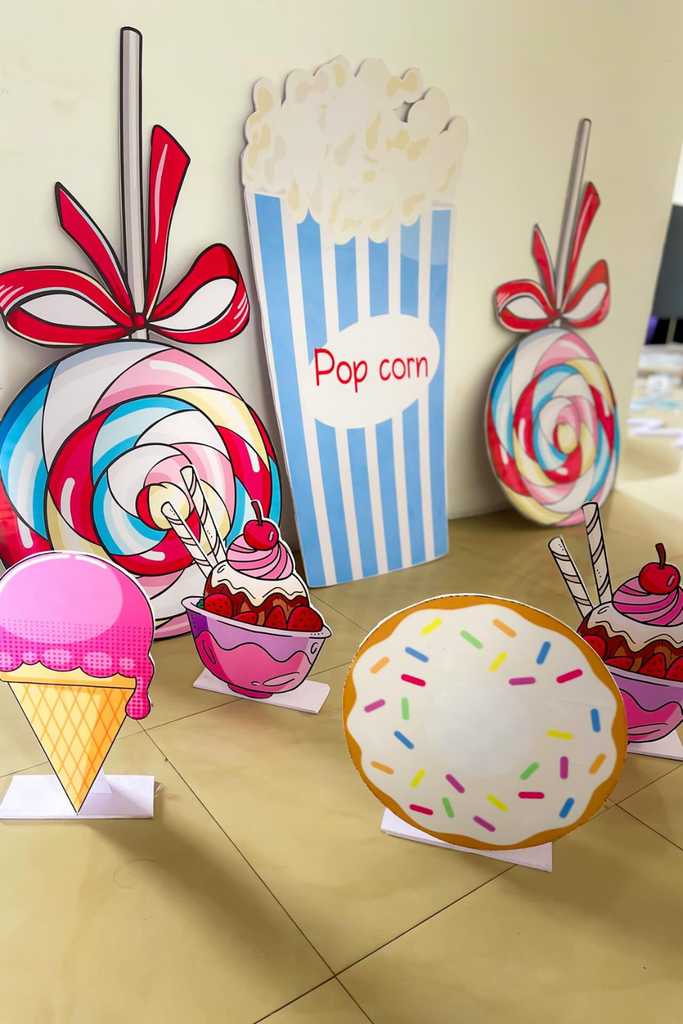
You can turn simple cardboard cutouts into a whole candy display when you need colorful props without building bulky three-dimensional pieces.
Print or draw lollipops, popcorn, ice cream, and wrapped sweets, mount them on foam board, and add folded supports behind each piece.
Arrange taller pieces toward the back and smaller ones in front, creating depth while keeping the setup easy to move between party areas.
Donut Stack
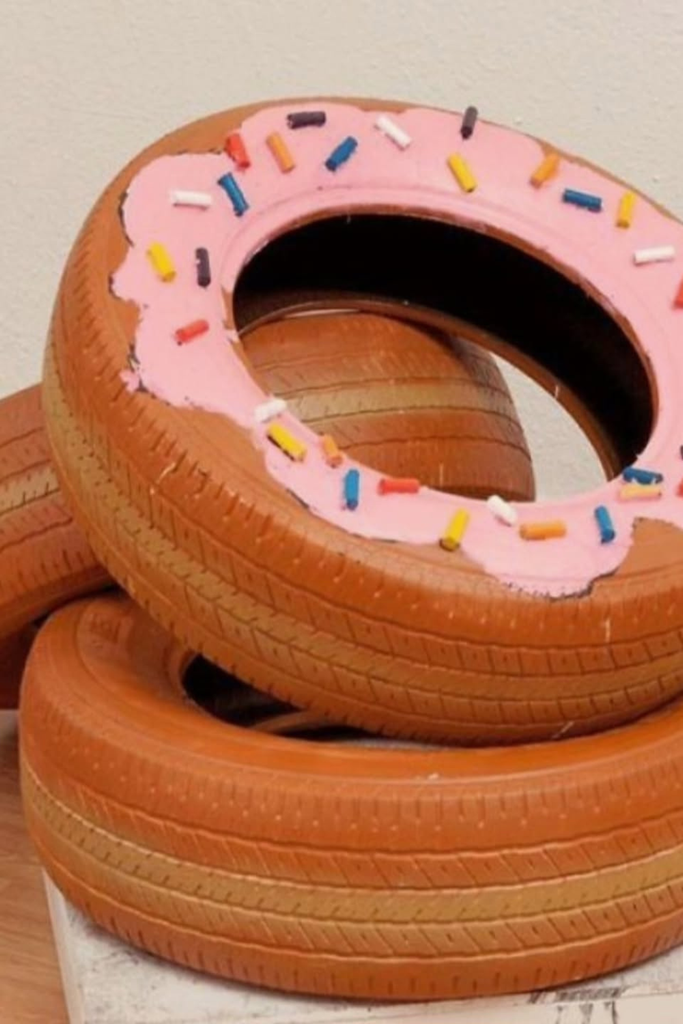
Stack several oversized foam rings to create a playful donut tower that works beautifully beside dessert tables, candy buffets, or party entrances.
Paint the rings in warm brown, add a thick pink frosting layer, then finish with colorful sprinkles for an instantly recognizable bakery look.
Place one decorated donut slightly higher than the others, giving the stack different heights and dimension without making the arrangement complicated.
Giant Lollipops
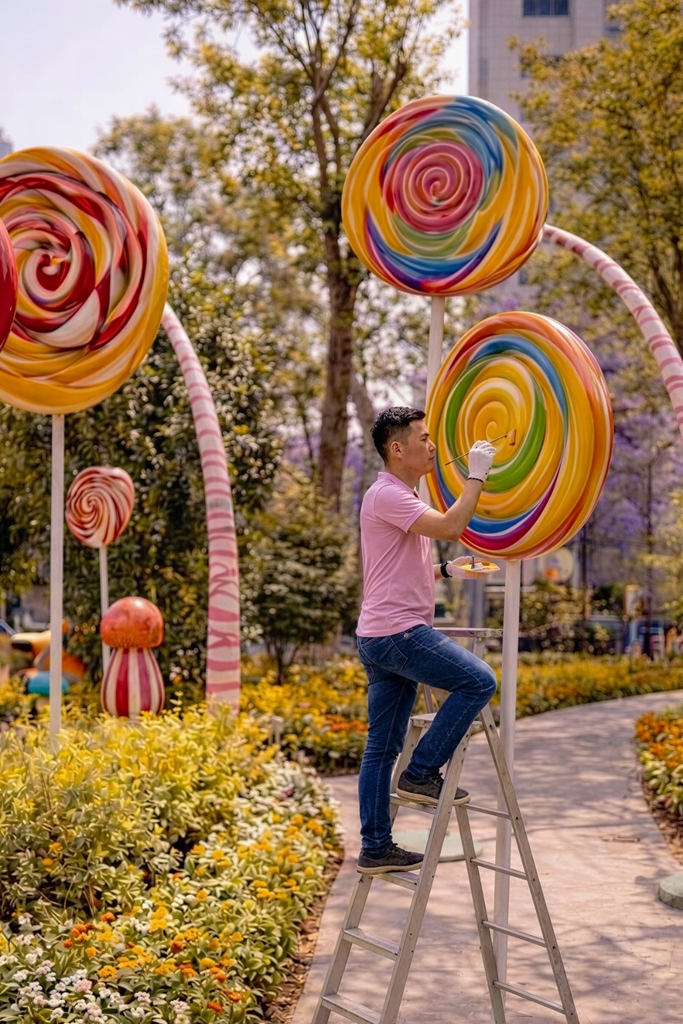
Turn an outdoor walkway into a Candy Land path by lining it with oversized spiral lollipops in bright, contrasting colors.
Cut large circles from lightweight foam, paint concentric swirls, and attach each candy to a sturdy wooden or PVC pole.
For outdoor parties, anchor every pole securely and use weather-resistant paint, especially when the props will remain outside for several hours.
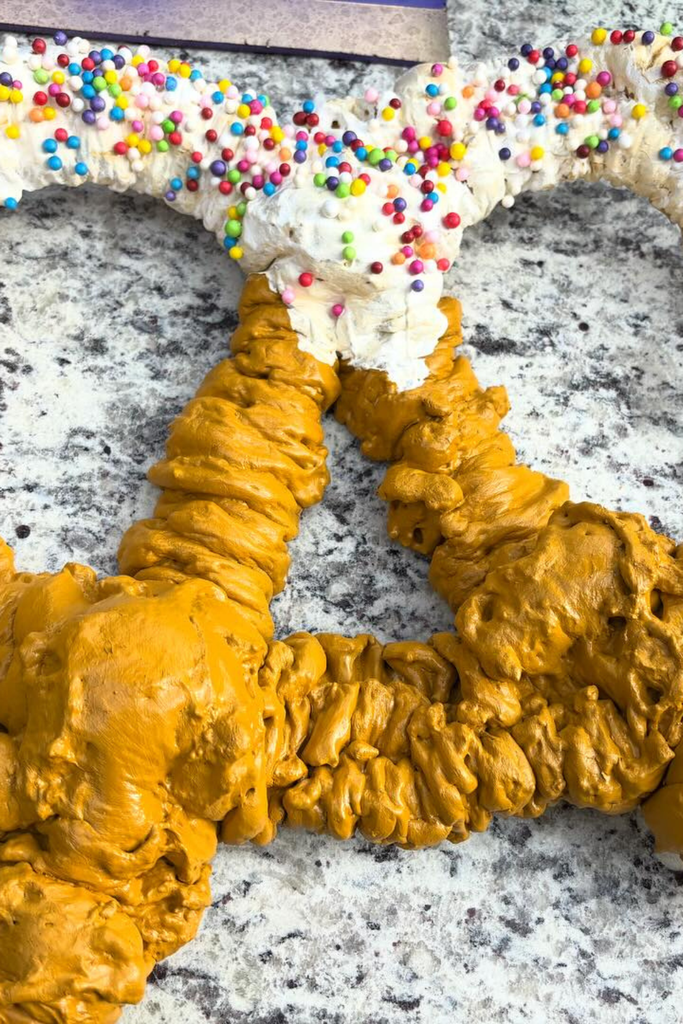
Pretzel Candy
Create a playful giant candy pretzel using lightweight foam, shaping thick twisted sections before coating them in textured golden-brown paint.
Add a generous layer of white frosting across the upper curves, then finish with colorful sprinkles for an oversized bakery-inspired appearance.
Place this statement prop beside a dessert table, candy display, or photo area where its unusual shape becomes an instant focal point.
Candy Forest
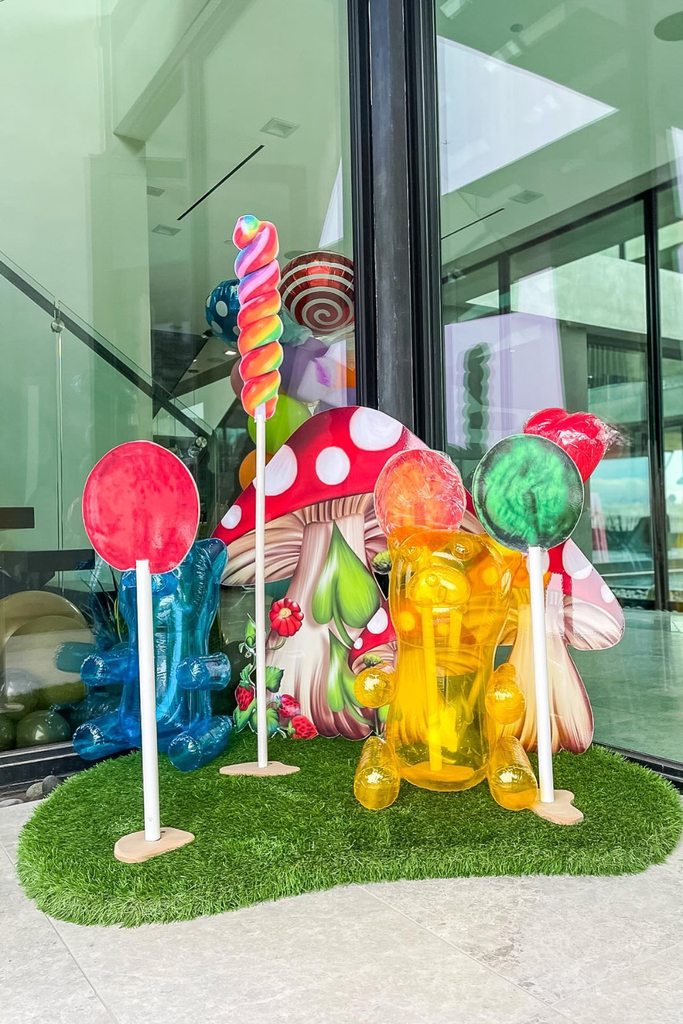
Give an ordinary corner a Candy Forest feel by mixing oversized lollipops with colorful mushroom-shaped sweets and other playful garden-inspired props.
Create lollipops from foam circles and wooden poles, then wrap smaller shapes in cellophane to mimic shiny candies scattered around the display.
Set everything on a small grass-covered platform near an entrance, garden path, or photo area, keeping taller pieces behind shorter ones.
Candy Buttons
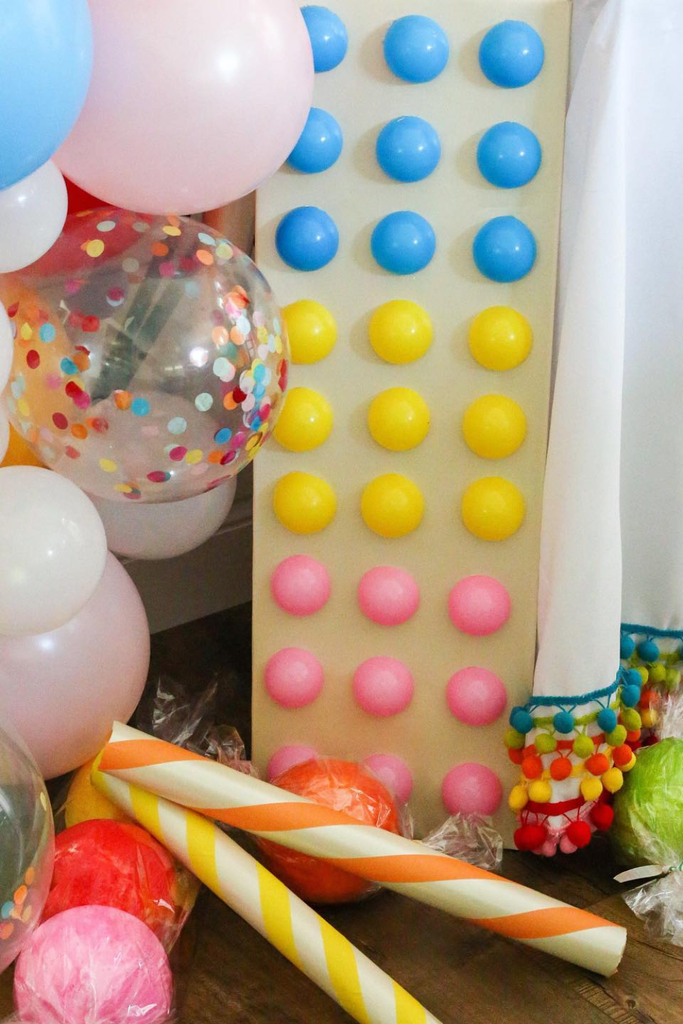
Give a plain wall a candy-shop finish by mounting rows of colorful round pieces that mimic oversized candy buttons.
Cut circles from foam balls or thick craft foam, paint them in alternating colors, and attach them evenly across a sturdy backdrop.
Keep the rows neat and evenly spaced, then add a few oversized wrapped candies along the floor for a playful, layered display.
Ice Cream Castle
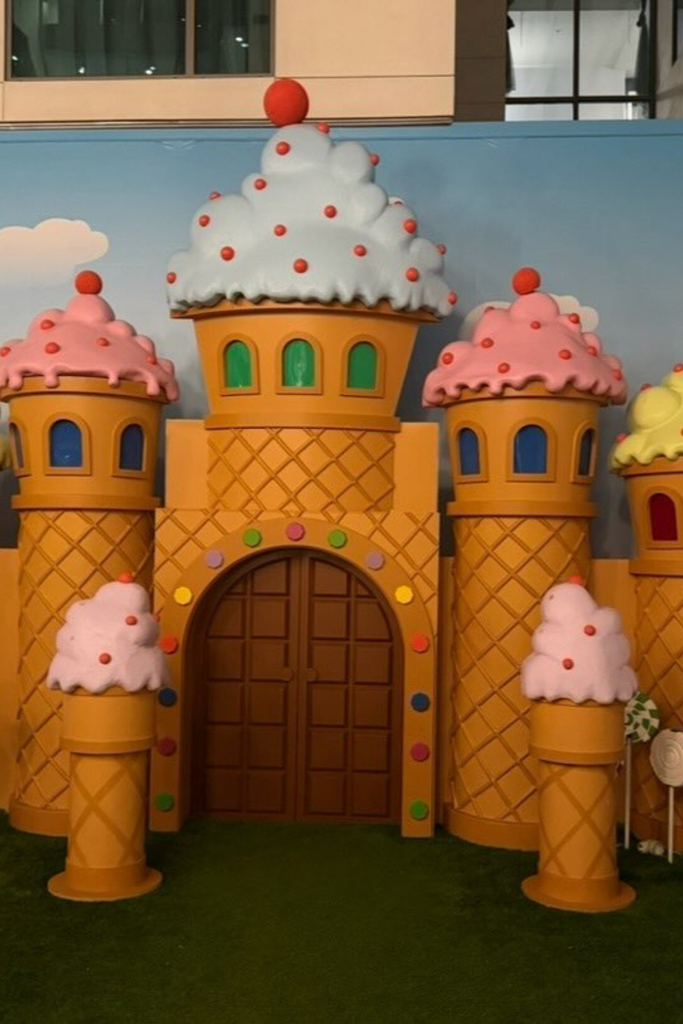
Go beyond individual candies and build an ice cream castle when you want a large display that completely transforms your party space.
Use cardboard tubes or lightweight foam for the towers, then add cone patterns, colorful frosting tops, and oversized cherries for detail.
Place smaller lollipop props around the base to create a Candy Land entrance, especially for birthdays, themed events, or larger indoor displays.
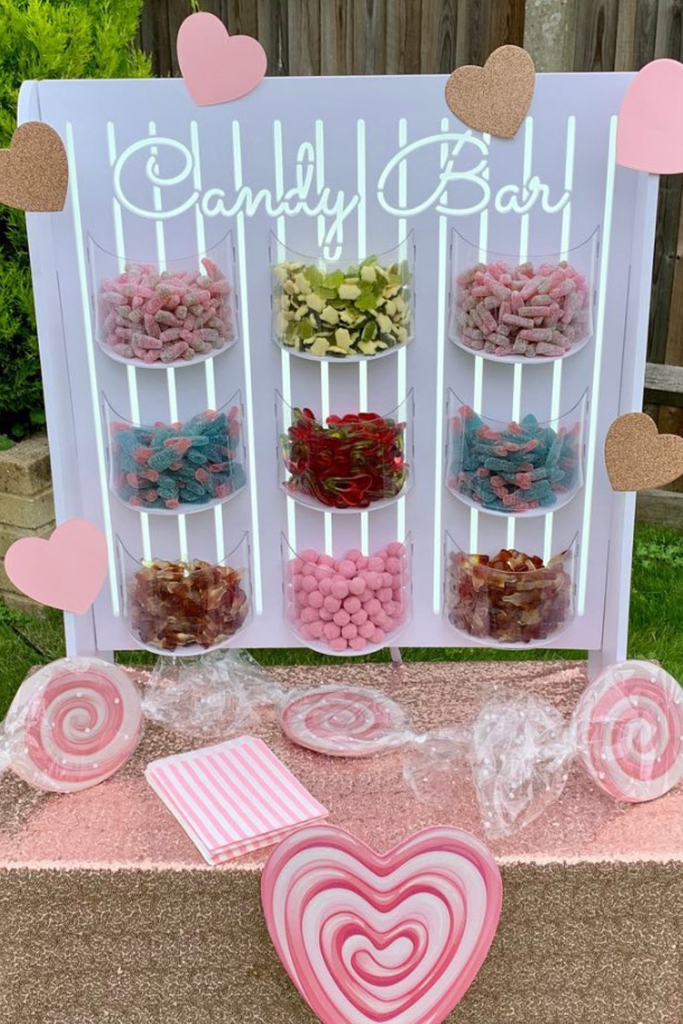
Candy Bar
Create a DIY candy bar by mounting clear cups onto a simple painted board and filling them with colorful sweets.
Add a handwritten-style sign, heart cutouts, and oversized lollipops to make the display feel playful and thoughtfully coordinated.
Keep the candy arranged by color and type, then decorate the table with striped napkins and large candy props for extra visual impact.
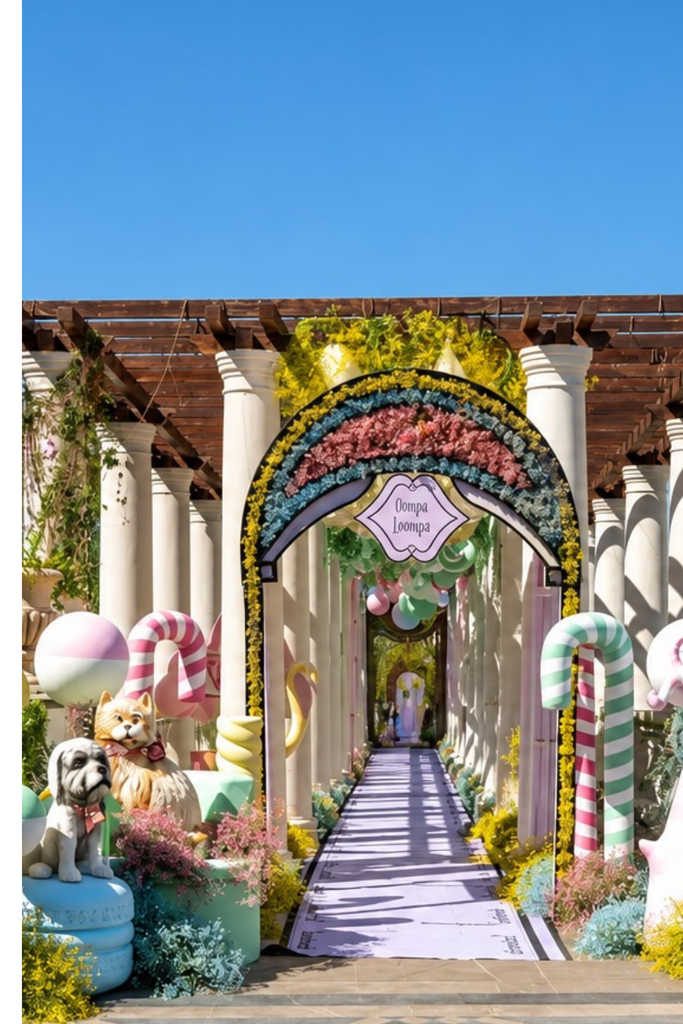
Candyland Entrance
A candy-themed entrance transforms an ordinary outdoor space into an immersive party setting, using oversized sweets, pastel colors, and playful garden details.
The arched walkway becomes the focal point, framed with candy-like flowers, giant lollipops, striped canes, and whimsical character figures for instant impact.
Add ticket signs and colorful props around the entrance to create a storybook experience that feels inviting, photogenic, and perfect for themed celebrations.
How Can I Make a Candyland Entrance Stand Out?
Use oversized lollipops, candy canes, pastel flowers, and colorful arches to create an entrance that immediately establishes the playful Candyland theme.
Add character cutouts, themed signs, and oversized sweets around the walkway to make the setup feel more immersive and visually interesting.
Keep the main colors coordinated so the decorations look whimsical without becoming cluttered, especially when using several large props together.
What Colors Work Best for Candyland Decor?
A pastel palette of pink, blue, yellow, lavender, and mint green creates the classic cheerful look associated with Candyland-inspired celebrations.
You can introduce brighter shades such as hot pink, red, or turquoise through balloons, lollipops, signage, and smaller decorative accents.
Combining soft and bold colors gives the setup depth and variety while keeping the overall party display playful and cohesive.

Hi, my name is Zeeshan, and I am the founder of The Crafts Geek. I have been passionate about DIY projects, home organization, and creative problem-solving for years. Over time, I realized that simple storage solutions and practical DIY ideas can make a huge difference in how a home looks and functions.